Before importing the demo sites that make sure you reviewed the checklist below:
Have registered purchase code in WPAdmin > Traveler > Getting Started > Product Registration
Installed all Traveler required plugins in WPAdmin >Appearance > Install Plugins
Check your server status to meet all Traveler requirements in Theme Settings > System Status
Turn OFF debug mode (set FALSE). Please read the instruction at the end of the post on sections2. Warning Notice in FrontEnd
When you import demo sites, all your current existing posts, pages, categories, images, and any other data will be deleted. Let’s BACKUP your data before doing this and new data will be imported into your websites in a few minutes..
To import a demo, please follow the following steps:
On the WordPress Dashboard, go to Traveler > Getting Started > Quick Install Demo
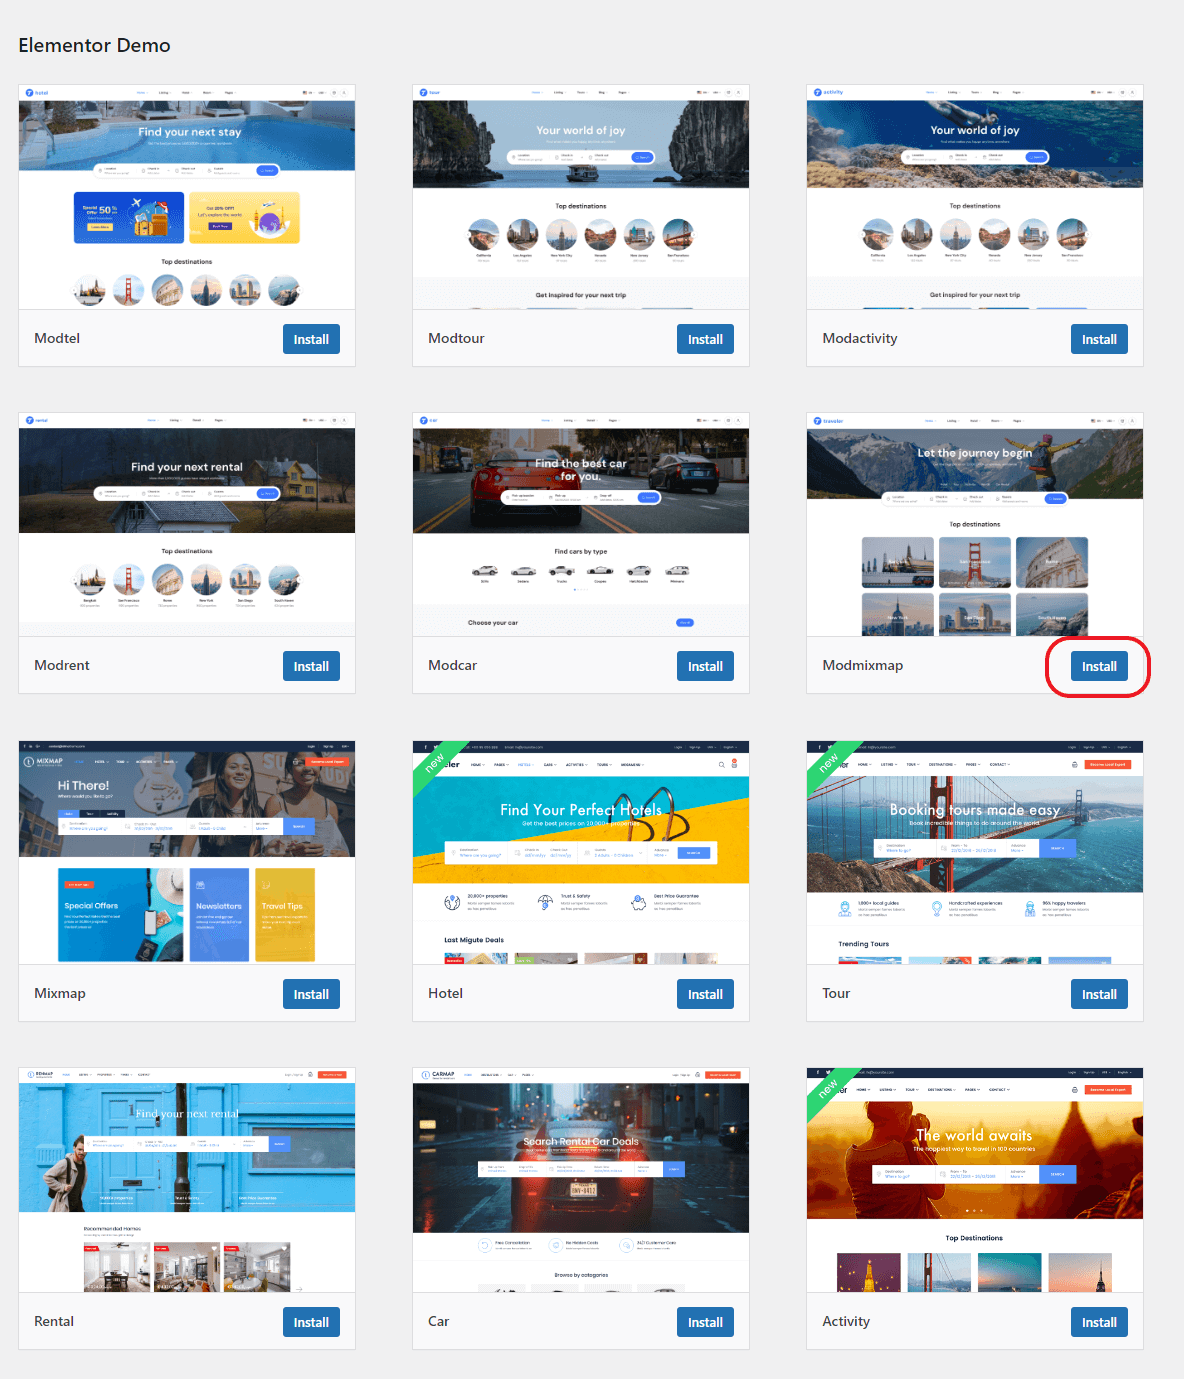
Select your favorite demos and click Install. For example, we decide to choose the Modmixmap demo to import
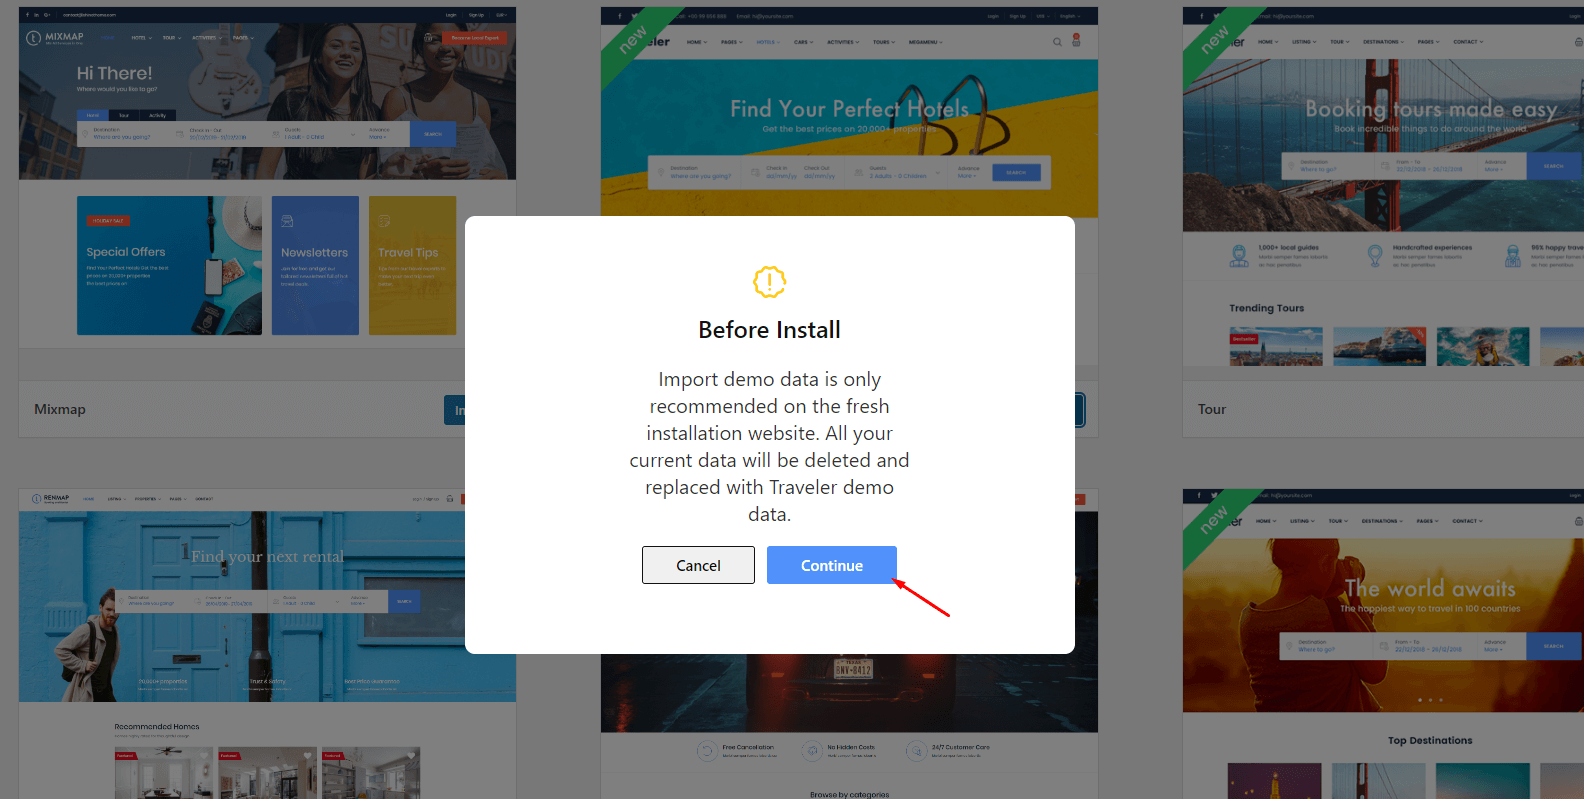
Click Continue to import your demo and wait for processing
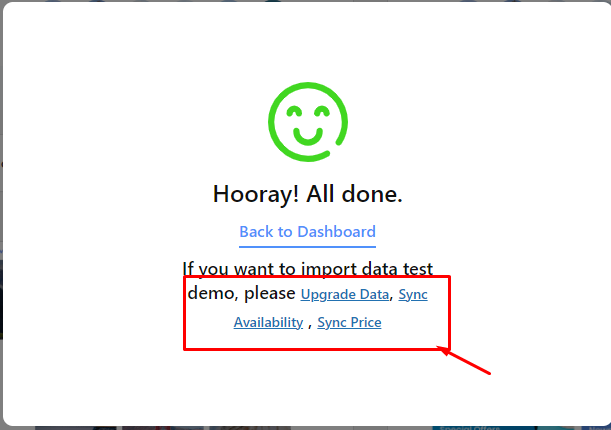
Once done, click Upgrade Data, Sync Availability, and Sync Price to sync the availability and price. And install and activate Required Plugin again
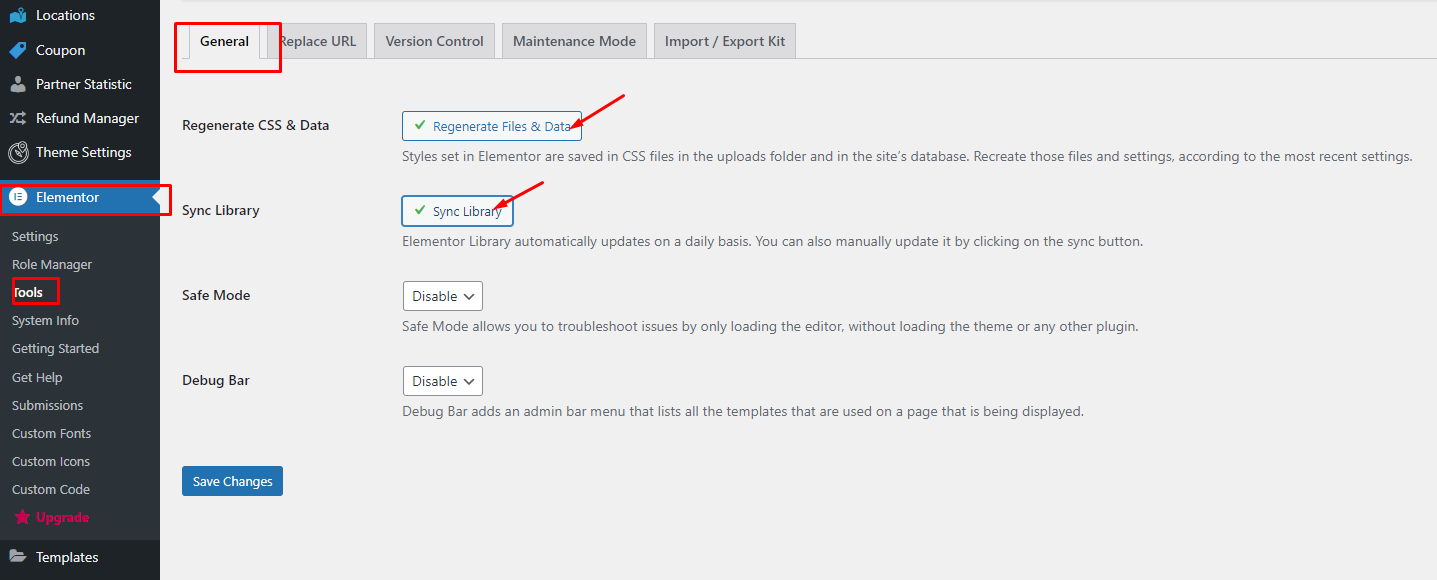
With the Elementor demo – to clear the cache, go to the Elementor > Tools > General, click the Regenerate CSS & Data and Sync Library then change Elementor > Settings > Performance > CSS Print Method to Internal Embedding.
2. Troubleshooting
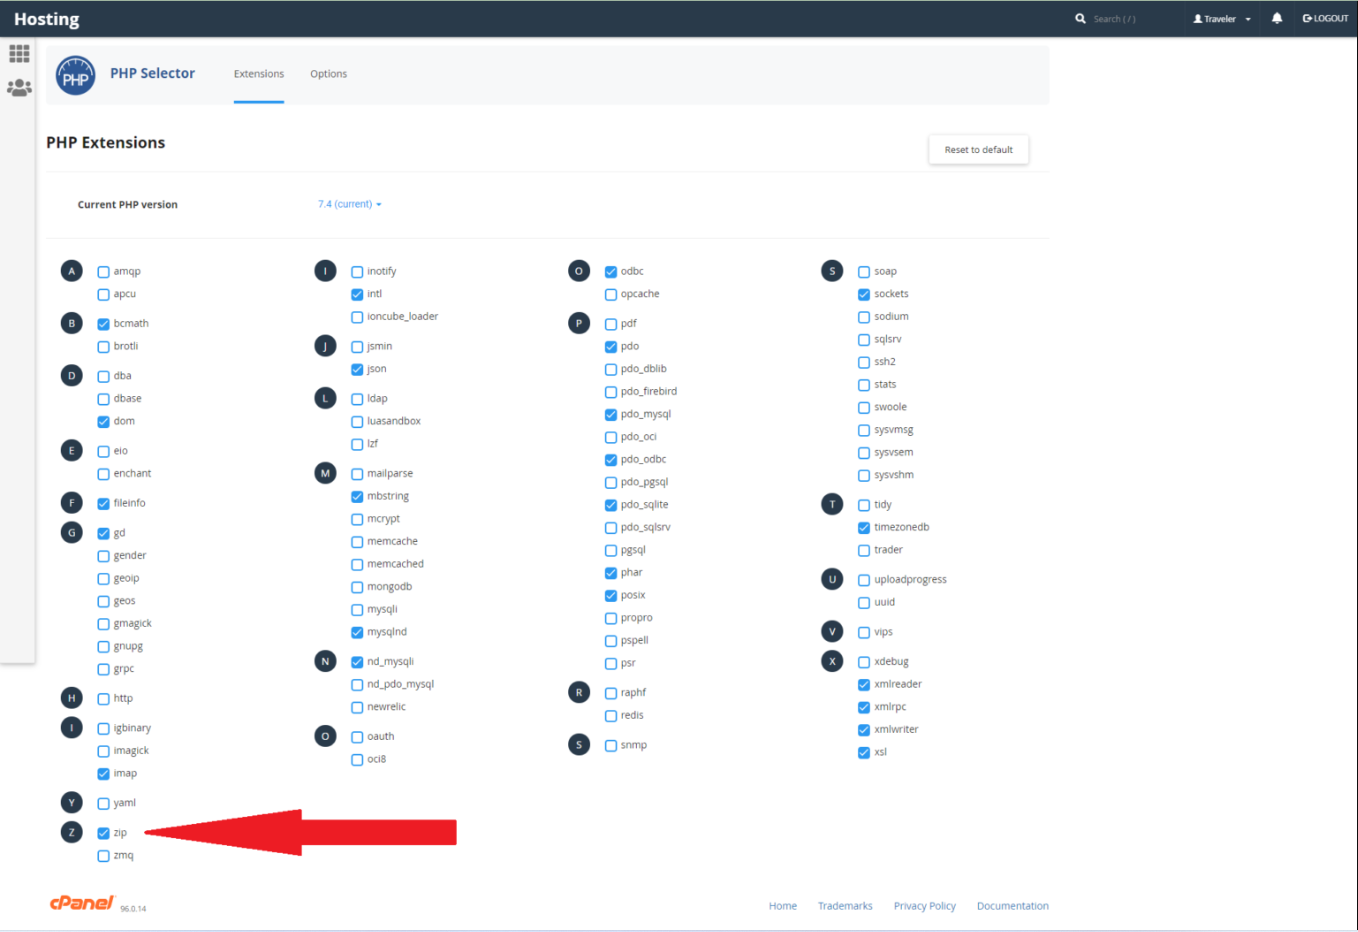
2.1. Stuck at 0%
Stuck at 0% is the error that your server can not download and unzip the demo content. In your server hosting, find a Select PHP Version > PHP Extension and select Zip to fix this error.
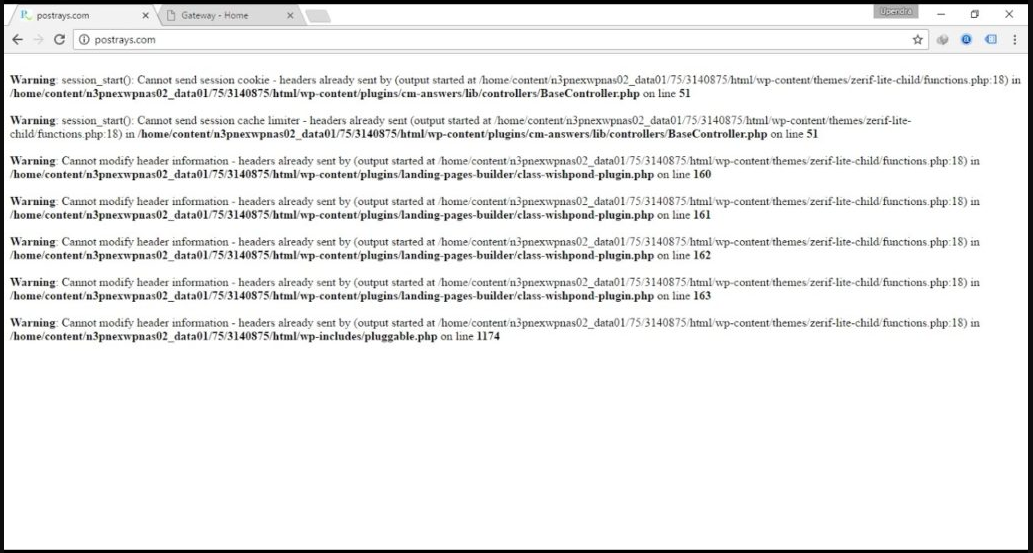
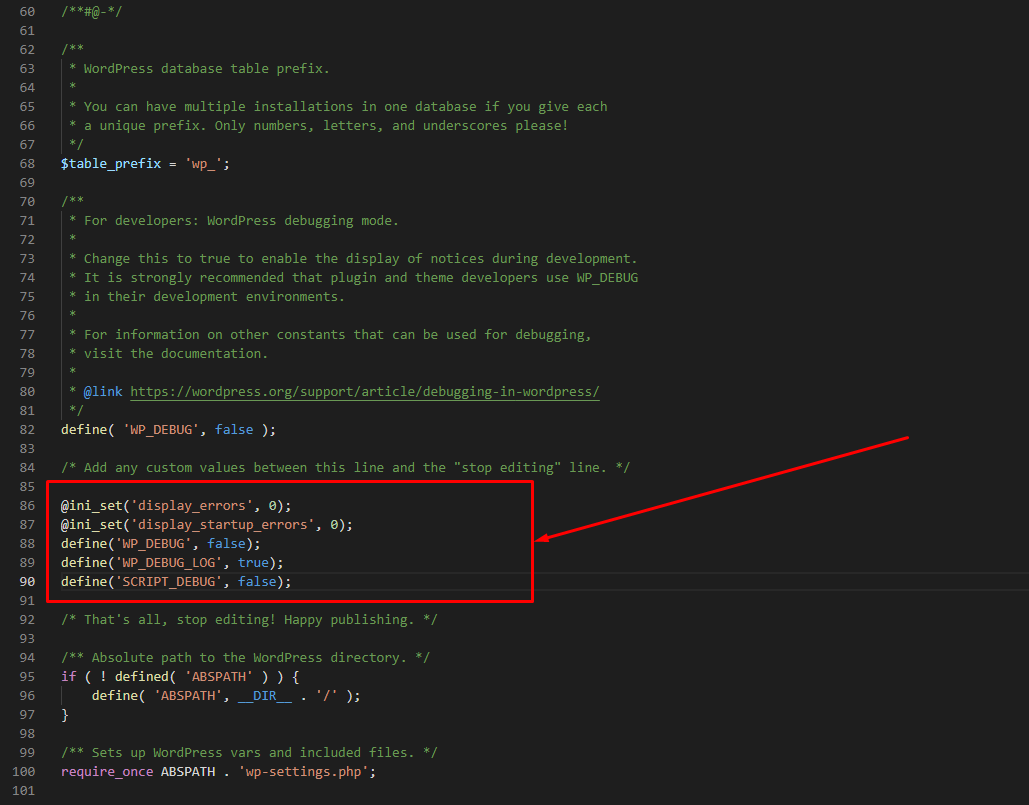
2.2. Warning Notice in FrontEnd
Warning Notice in FrontEnd occurs when you import the demo sites in the frontend. For example
To solve it, add the following code to the bottom of your wp-config file to fix it.