Table of Contents
If you are a travel agency or a tour guide, you know how important it is to showcase your destinations and services to potential customers. You want them to see the beauty, the culture, and the excitement of the places you offer. But how can you do that in a world where various factors restrict or limit travel?
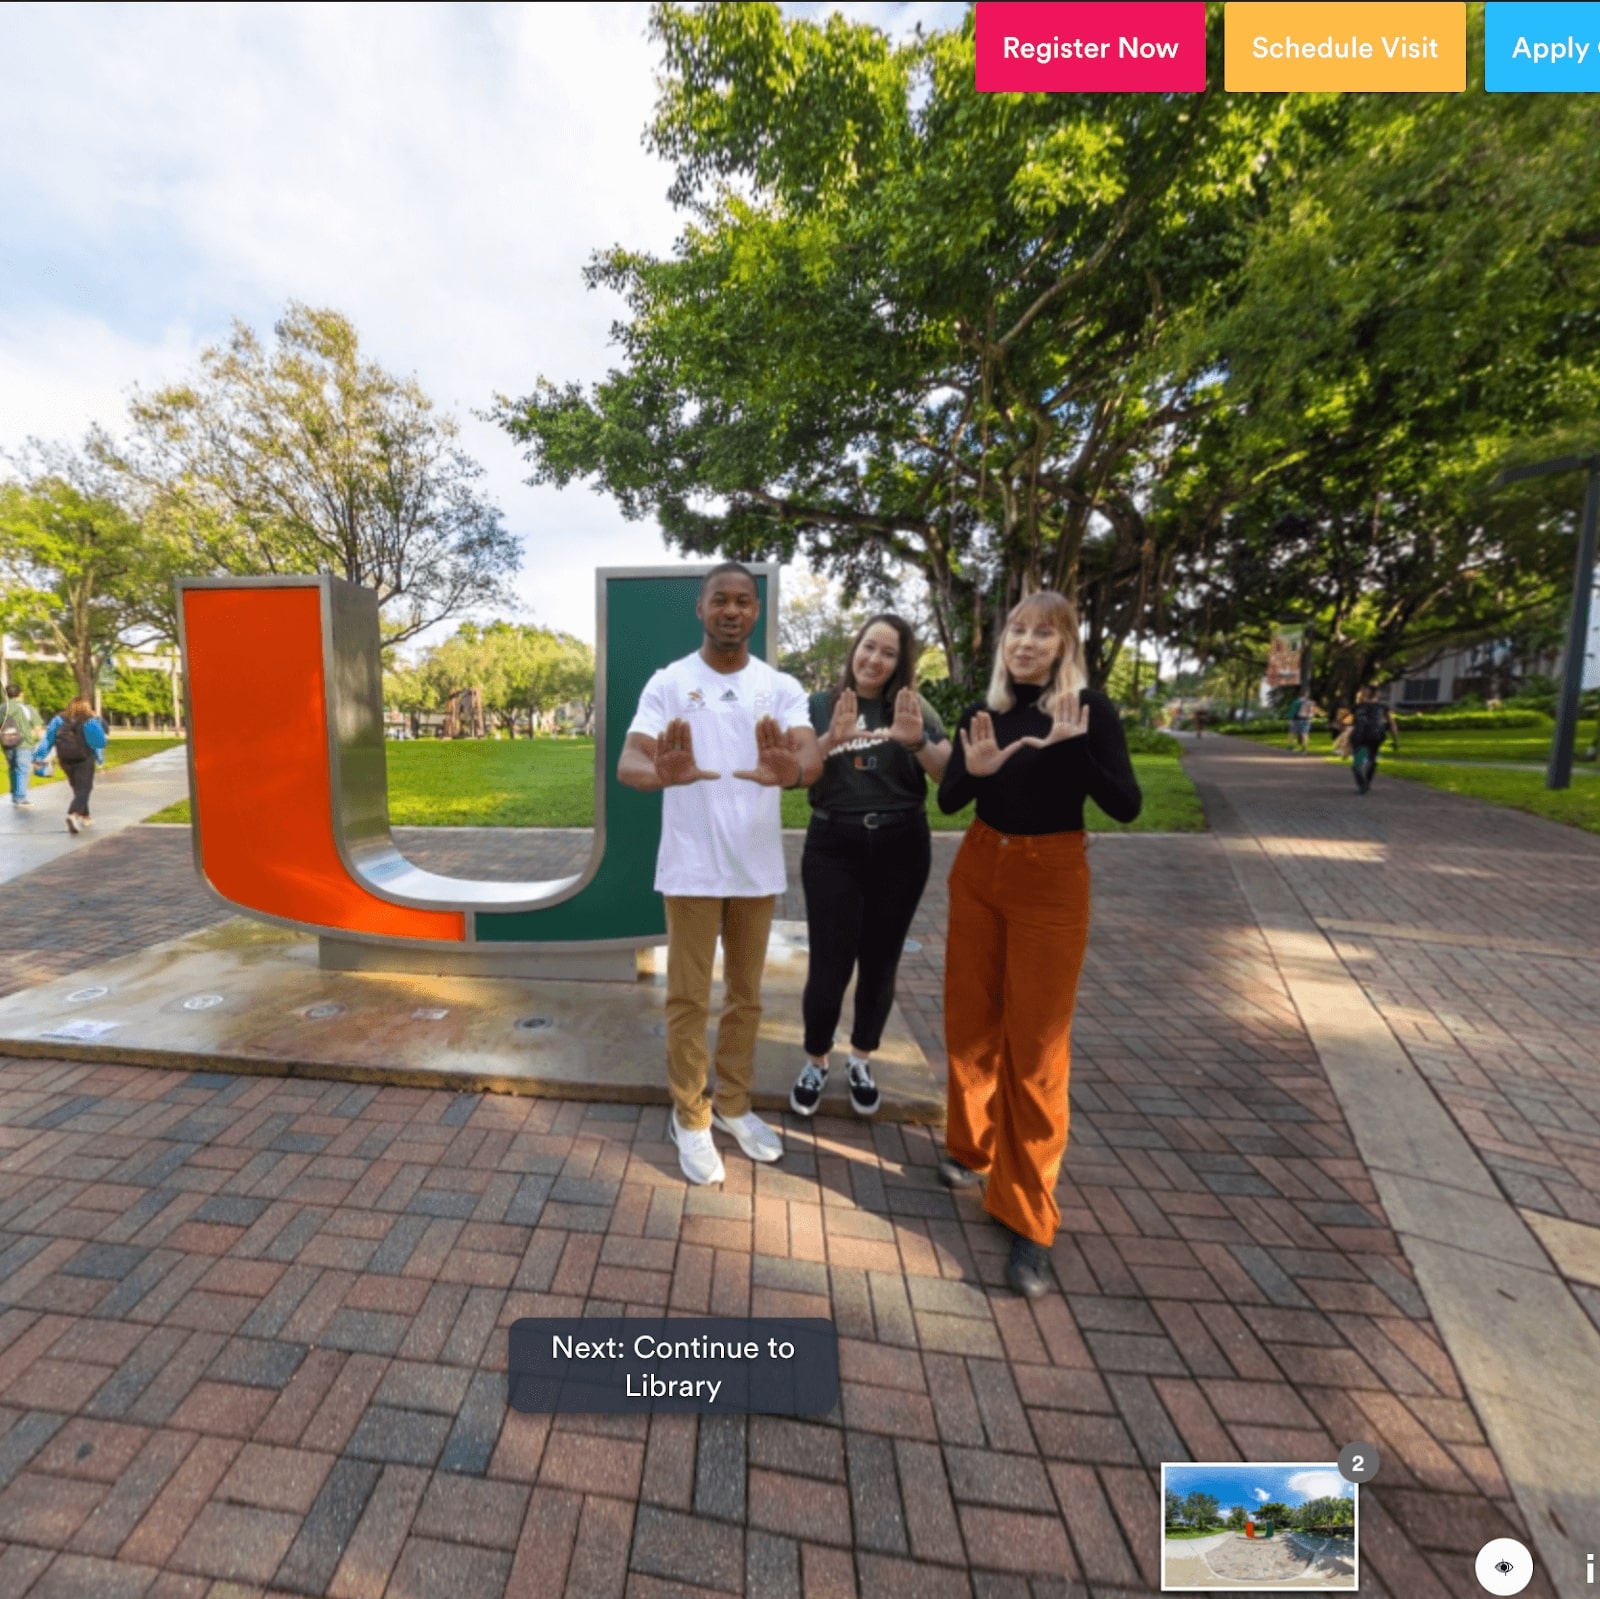
The answer is virtual tours. Virtual tours are immersive and interactive experiences allowing customers to explore their destinations from their devices. They can see the sights, hear the sounds, and feel the atmosphere of your locations without leaving their homes. Virtual tours boost your website’s engagement, conversion, and retention rates. They can also help you build trust and credibility with your customers.
This article will explain everything you need about virtual tours and how to make them for your travel agency website. By the end, you can create stunning and effective virtual tours that will wow your customers and grow your business.
Let’s get started!
Understanding Virtual Tours
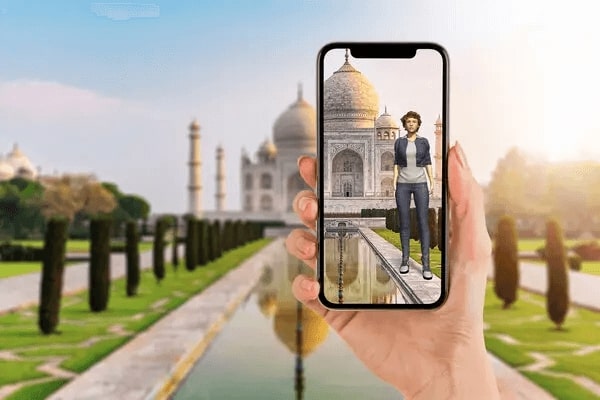
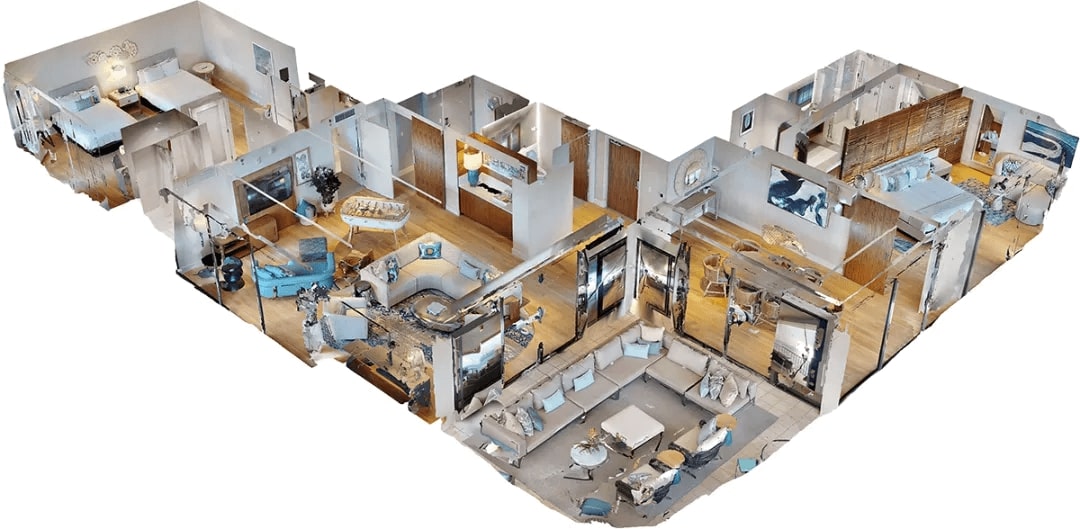
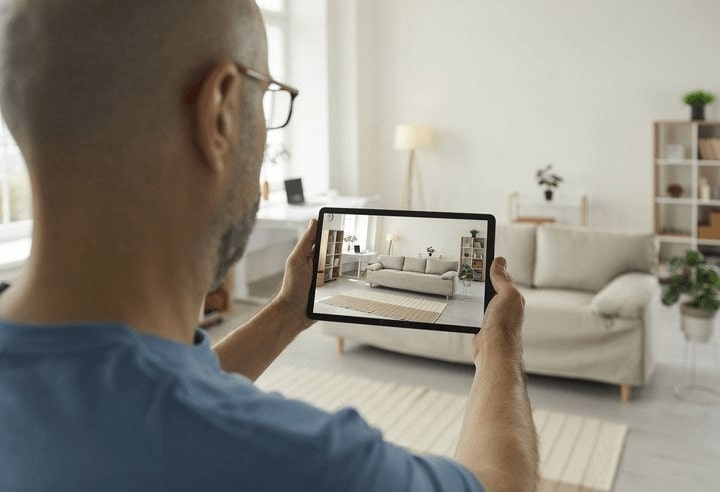
A virtual tour is a digital simulation of a real place that can be viewed on a computer, a smartphone, a tablet, or a VR headset. A virtual tour can have 360-degree photos, videos, or 3D models stitched together to create a seamless and immersive experience. A virtual tour can also include audio, text, or interactive elements that enhance the realism and engagement of the tour.
The purpose of a virtual tour is to give your customers a realistic and interactive preview of your destinations and services. A virtual tour can help your customers visualize themselves in your locations and get excited about booking with you. A virtual tour can also answer some of the questions or concerns that your customers may have about your offerings.
Virtual tours have many benefits for tour agencies, such as:
- Increasing website traffic and engagement: Virtual tours can attract more visitors and keep them on your pages longer. According to a study by Google, websites with virtual tours have 41% more traffic and 15% more page views than those without.
- Boosting conversion and retention rates: Virtual tours can increase the likelihood of your customers booking with you and returning for more. According to a study by Panomatics, websites with virtual tours have 67% higher conversion rates and 48% higher retention rates than those without.
- Building trust and credibility: Virtual tours can show your customers you are transparent and professional. Virtual tours can also showcase your expertise and quality of service. According to a survey by TripAdvisor, 79% of travelers say virtual tours help them make informed decisions about their travel plans.
- Saving time and money: Virtual tours can reduce the need for physical visits or inspections, saving you time and money. Virtual tours can also help you reach more customers from different locations and markets.
Step-by-step guide: Creating a virtual tour
Now that you understand what virtual tours are and why they benefit tour agencies, you may wonder how to create them.
We will guide you through creating a virtual tour from scratch. We will cover everything from planning to publishing your virtual tour:
Step 1: Plan your virtual tour
The first step in creating a virtual tour is to plan it. Planning your virtual tour will help you define your goals, identify your target audience, and determine the scope and content of your virtual tour.
Ask yourself these questions when planning your virtual tour:
- What is the purpose of your virtual tour? Do you want to showcase your destinations, promote your services, or educate your customers?
- Who is your target audience? What are their needs, preferences, and expectations? How can you appeal to them and persuade them to book with you?
- What locations or attractions do you want to include in your virtual tour? How many scenes or locations do you need? How will you arrange them in a logical sequence?
By answering these questions, you will have a clear vision of what you want to achieve with your virtual tour and how to do it.
Step 2: Choose a virtual tour software or platform
The next step of creating a virtual tour is choosing a software or platform to help you create and edit your virtual tour. Many options are available in the market, each with its own features, advantages, and disadvantages.
If you still wonder which apps to choose, check out our recommendations below:
- Kuula: Kuula is an easy-to-use and affordable online platform that allows you to create stunning 360-degree photos and videos. You can upload your media, edit them with filters and effects, add interactive elements like hotspots and audio, and share them on any device. Kuula also offers a Pro version with more features and customization options.
- Matterport: Matterport is a powerful and professional platform that enables you to create immersive 3D models of any space. You can use Matterport’s cameras or compatible devices to scan and capture your locations, upload them to the cloud, and edit them with Matterport’s tools. You can also add annotations, measurements, floor plans, and more.
- Roundme: Roundme is a simple and elegant platform that lets you create beautiful 360-degree panoramas and tours. You can upload your panoramas, organize them into tours, add hotspots and transitions, and customize the appearance of your tours. Roundme also has a social network feature that allows you to discover and follow other creators.
- 3DVista: 3DVista is a comprehensive and advanced platform offering everything you need to create realistic and interactive virtual tours. You can use 3DVista’s software to stitch and edit your photos or videos, add multimedia elements like music, voice-over, or video overlays, and create custom skins and layouts for your tours.

Step 3: Gather the necessary equipment
The third step of creating a virtual tour is gathering the equipment to capture images or videos of your locations. The equipment you will need depends on the type of media that you want to use for your virtual tour: 360-degree photos or videos, or 3D models.
Here are some general guidelines for choosing the right equipment:
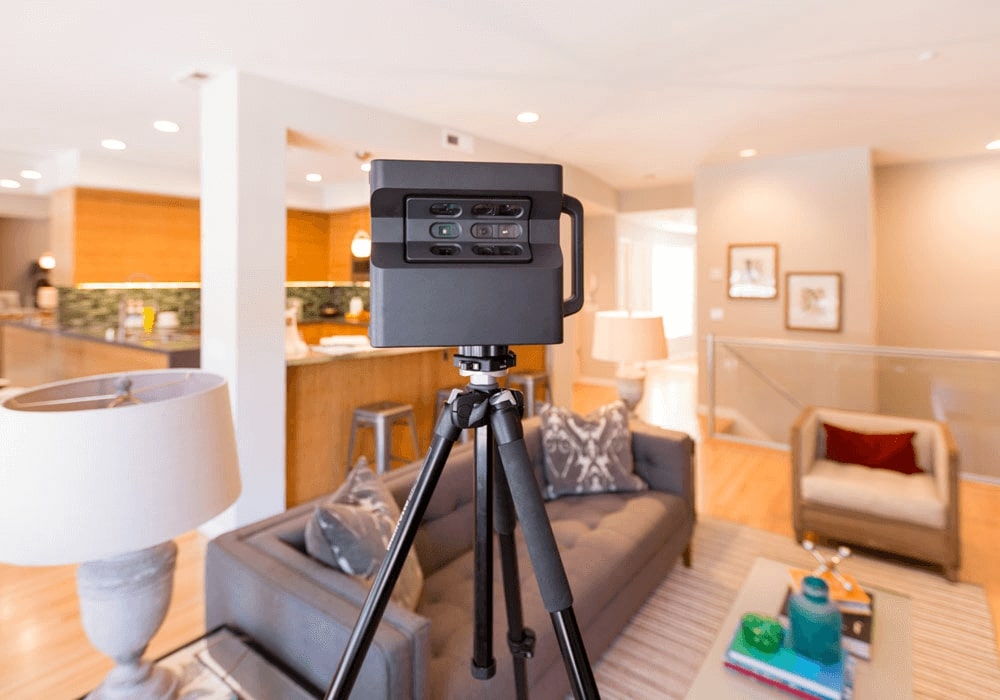
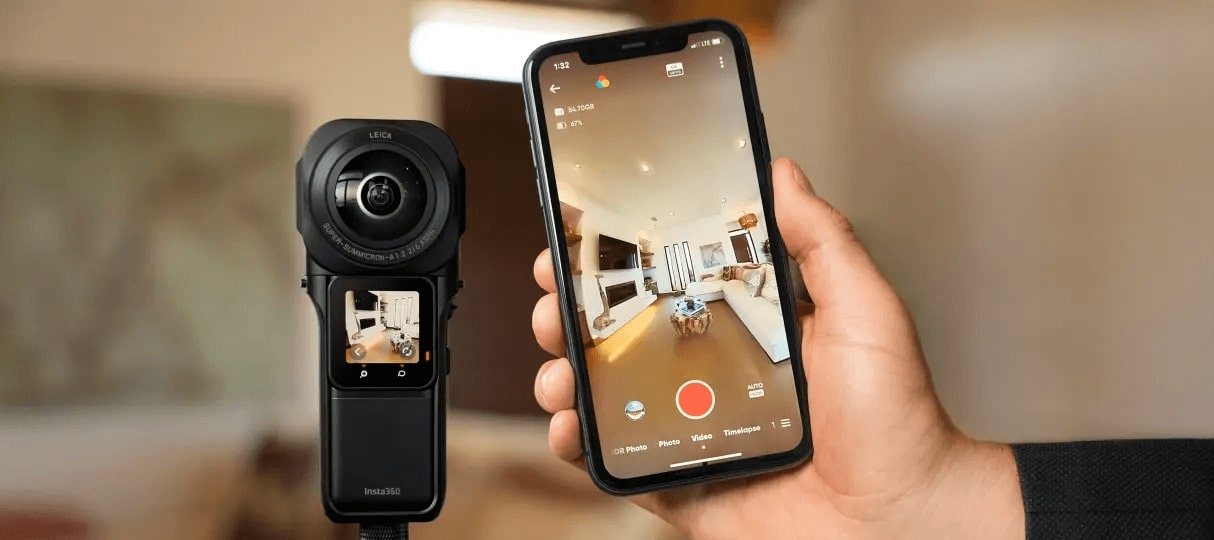
- Camera: You will need a camera that can capture 360-degree photos or videos or a wide-angle lens covering a large field of view. You can use dedicated 360-degree cameras like Ricoh Theta or Insta360 or compatible devices like smartphones or DSLRs with fisheye lenses.
- Tripod: You will need a tripod that can hold your camera steady and level while capturing your images or videos. You can use standard tripods or monopods with ball heads or panoramic heads.
- Stabilizers or other accessories: You may also need stabilizers or other accessories that can help you reduce camera shake or distortion while capturing your images or videos. You can use gimbals, selfie sticks, remote controls, or timers.
Step 4: Capture high-quality images or videos
The fourth step of creating a virtual tour is to capture high-quality images or videos of your locations. This is one of the most important and challenging steps, as the quality of your images or videos will determine the quality of your virtual tour.
We have some tips for you to capture great images and videos:
- Choose the best time and weather conditions for your shooting. Avoid direct sunlight, shadows, or reflections that can affect your images or videos’ exposure or color balance. Aim for natural and consistent lighting throughout your scenes.
- Choose the best angle and position for your camera. Place your camera at eye level or slightly higher, and avoid tilting or rotating it. Keep your camera as close to the center of your scene as possible, and avoid objects or obstacles that can block the view or create parallax errors.
- Take multiple shots or videos of each scene or location. You may need to take several shots or videos of each scene or location to cover the 360-degree view. You can use your camera’s built-in stitching feature or software to stitch them together later.
- Check the quality and alignment of your images or videos. Review your images or videos on your camera or device, and make sure they are clear, sharp, and well-exposed. Check the alignment and overlap of your images or videos, and make sure there are no gaps, seams, or distortions.
Step 5: Edit and enhance your content
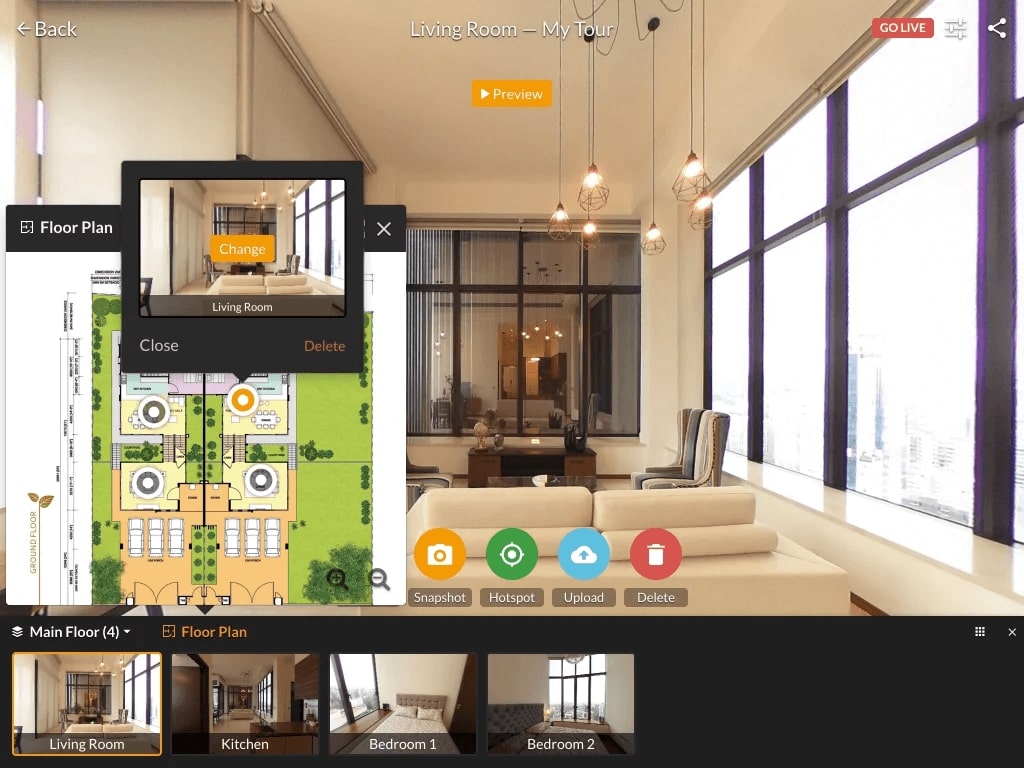
The fifth step of creating a virtual tour is to edit and enhance your content. Editing and enhancing your content will help you improve the appearance and functionality of your virtual tour. You can upload and edit your media using the virtual tour software.
Some common editing and enhancing tasks:
- Stitching: Stitching combines multiple images or videos into a single 360-degree image or video. You can use your camera’s built-in stitching feature or software to stitch your media automatically or manually.
- Cropping: Cropping is removing unwanted parts of your images or videos. You can use cropping to remove the tripod, the camera, or other objects that may appear in your media.
- Adjusting: Adjusting is modifying the brightness, contrast, color, saturation, sharpness, or other parameters of your images or videos. You can use adjusting to correct the exposure or color balance of your media or to create a certain mood or effect.
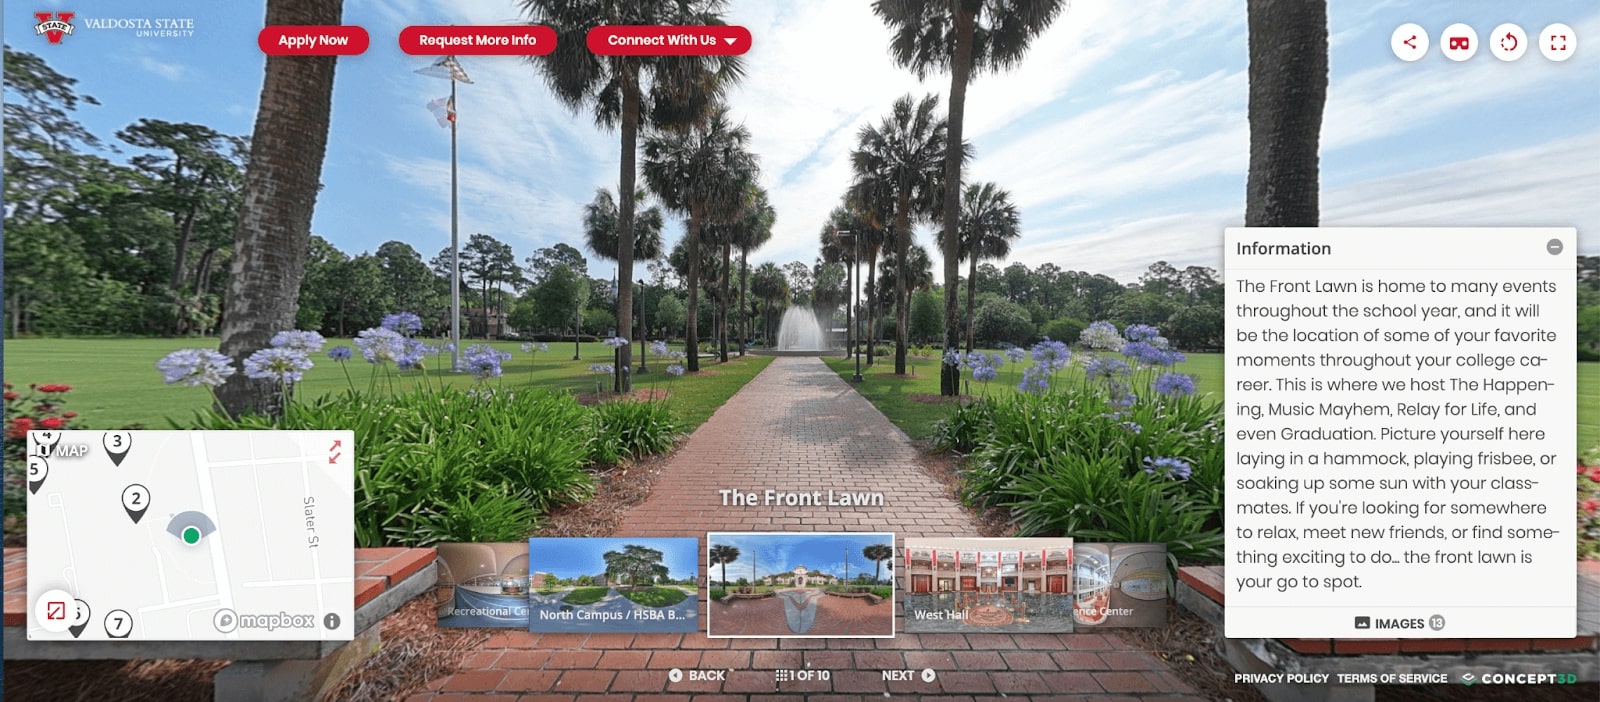
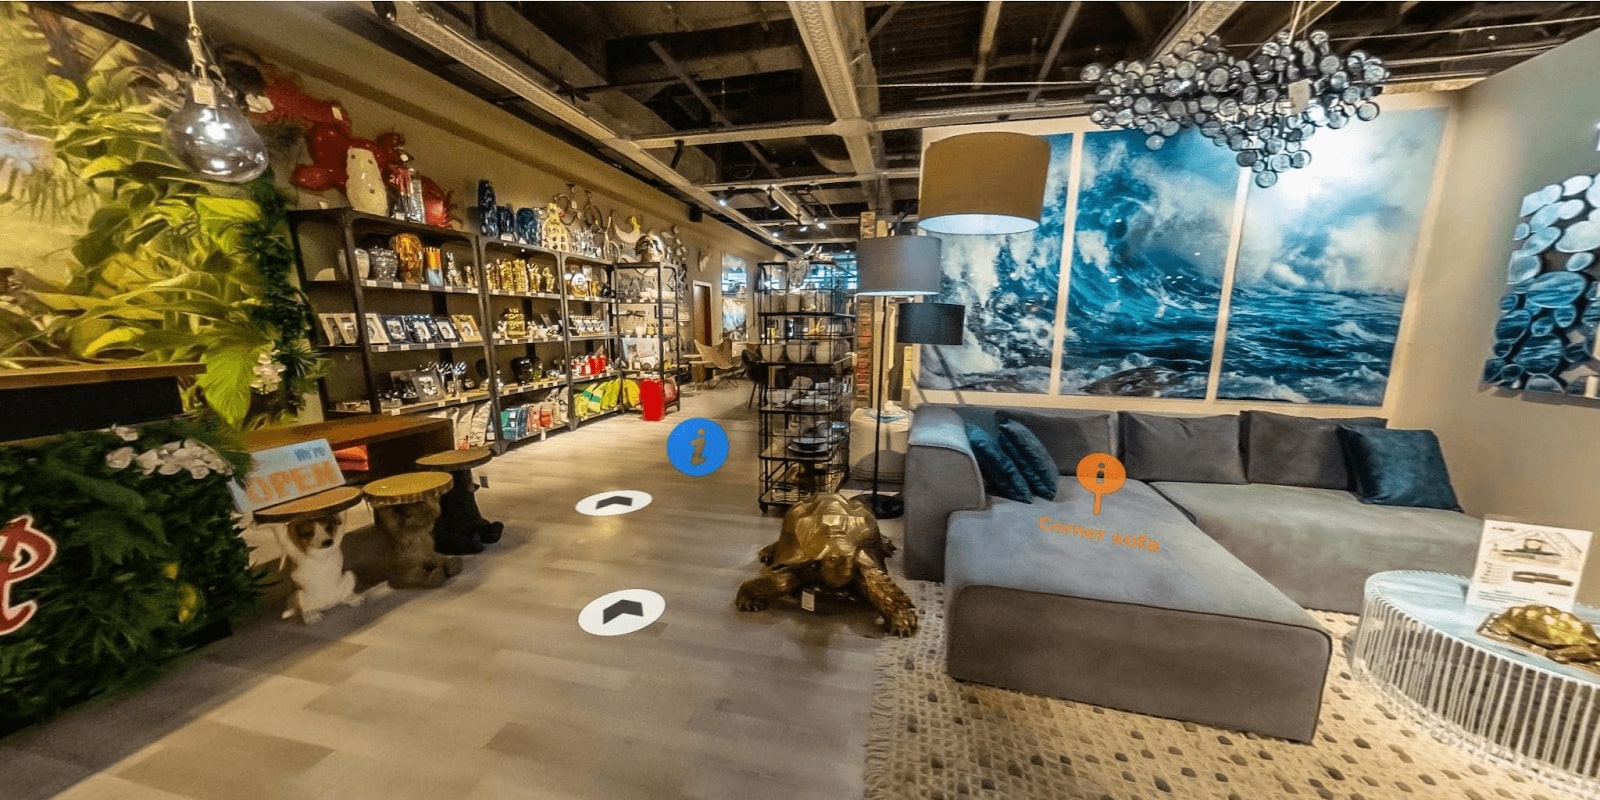
- Adding interactive elements: Adding interactive elements is the process of adding hotspots, audio, video overlays, or other elements that can enhance the realism and engagement of your virtual tour. You can use interactive elements to provide information, narration, music, sound effects, animations, or links to other scenes or websites.
Step 6: Organize and structure your virtual tour
The sixth step of creating a virtual tour is to organize and structure your virtual tour. Organizing and structuring your virtual tour will help you create a logical and coherent flow for your virtual tour. You can use the chosen virtual tour software to arrange scenes or locations logically.
Here are some tips so you can create an easy and enjoyable virtual tour:
- Create a map or outline of your virtual tour. Before you start arranging scenes or locations in your virtual tour software, creating a map or outline of your virtual tour on paper or on a computer is helpful. This will help you visualize the structure and flow of your virtual tour.
- Arrange scenes or locations in a logical sequence. Depending on the purpose and content of your virtual tour, you can arrange scenes or locations in different ways. For example, you can arrange them in chronological, geographical, thematic, or alphabetical order.
- Create navigation paths and transitions. Navigation paths and transitions are the links that connect scenes or locations in your virtual tour. You can use hotspots, arrows, buttons, menus, thumbnails, maps, floor plans, or other
Step 7: Customize the user experience
The seventh step of creating a virtual tour is customizing the user experience. Customizing the user experience will help you create a unique and memorable impression for your customers.
You can use the chosen virtual tour software to add descriptions, captions, tooltips, skins, layouts, logos, icons, colors, fonts, backgrounds, music, or other elements that can customize the user experience. Some tips to create a virtual tour that reflects your brand and personality:
Descriptions, captions, and tooltips are text elements that can provide information about scenes, locations, or interactive elements in your virtual tour. You can use descriptions, captions, and tooltips to provide information such as names, dates, facts, stories, tips, or instructions. You can also use them to highlight the features or benefits of your destinations or services.
The interface or design elements are the visual elements that define the look and feel of your virtual tour. To customize the interface or design elements, you can use skins, layouts, logos, icons, colors, fonts, backgrounds, music, or other elements. You can also create custom skins or layouts with HTML or CSS.
Step 8: Publish and share your virtual tour
The final step of creating a virtual tour is to publish and share your virtual tour. Publishing and sharing your virtual tour will help you reach and attract more customers for your travel business.
You can use the chosen virtual tour software to generate embed codes or URLs for website integration.
Here are some tips for publishing and sharing your virtual tour:
- Generate embed codes or URLs for website integration: Embed codes or URLs are the codes or links that allow you to embed or display your virtual tour on your website or other platforms. You can use the chosen virtual tour software to generate embed codes or URLs for your virtual tour. You can also customize your virtual tour’s size, resolution, quality, or autoplay options.
- Share the virtual tour on social media, email newsletters, or other marketing channels: Social media, email newsletters, or other marketing channels are the platforms that allow you to promote and distribute your virtual tour to your target audience. You can share your virtual tour’s embed codes or URLs on social media platforms like Facebook, Instagram, Twitter, YouTube, or Pinterest. You can also include them in email newsletters, blog posts, online ads, flyers, brochures, or other marketing materials.
Ready to embark on a virtual adventure? Experience the world from the comfort of your home with our immersive virtual tour! Whether you’re a travel agency or a traveler, level up your website with TravelerWP’s WordPress tour agency. Start creating captivating virtual tours that will leave your audience in awe. Don’t wait any longer—make your website stand out with TravelerWP’s virtual tour plugin today!
Conclusion
Congratulations! You have just learned how to create a virtual tour for your travel agency website. By following these steps, you can create stunning and effective virtual tours that will wow your customers and grow your business.
So what are you waiting for? Start creating your virtual tour today and see the results for yourself! If you need any help or advice, feel free to contact us. We are always happy to assist you with your virtual tour needs. Thank you for reading!