Poedit is an software used for translating the content of website into different languages. Traveler theme can be translated manually so that they work in any language. To translate them, you need to use PoEdit software to translate the .po language file
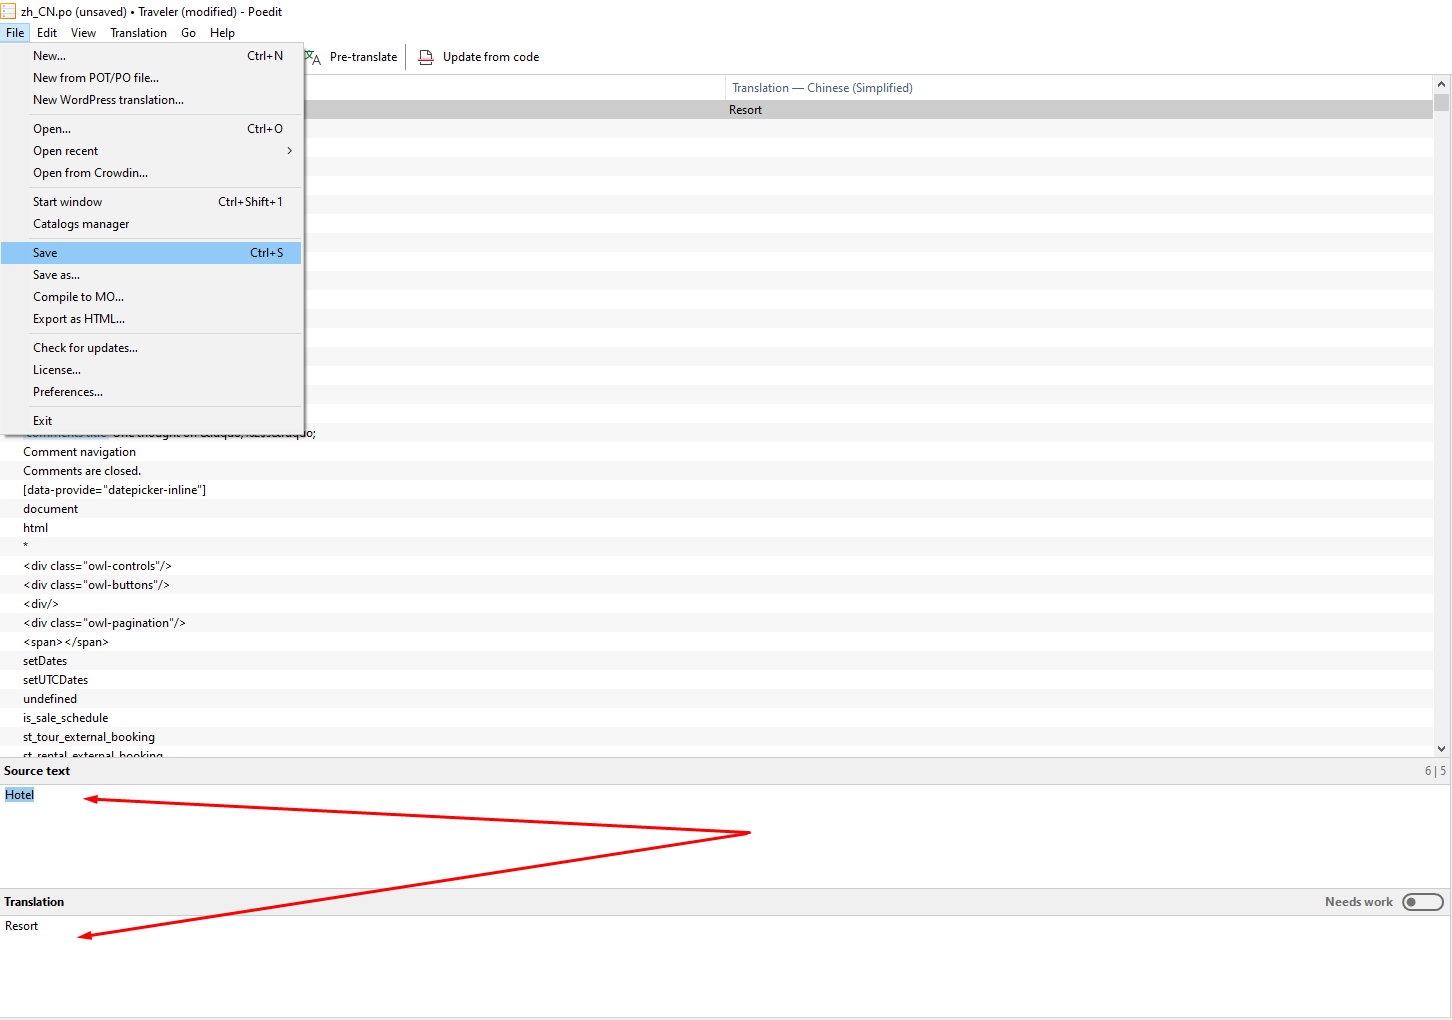
Note: Translation can also be used to replace specific text in the same language. For instance, you can change “tour” to “excursion” or “hotel” to “resort”
Here is the video to show you how to translate your website into different language
2. Translation
Step 1: Set your site language by navigating to WPAdmin > Settings > General > Site Language
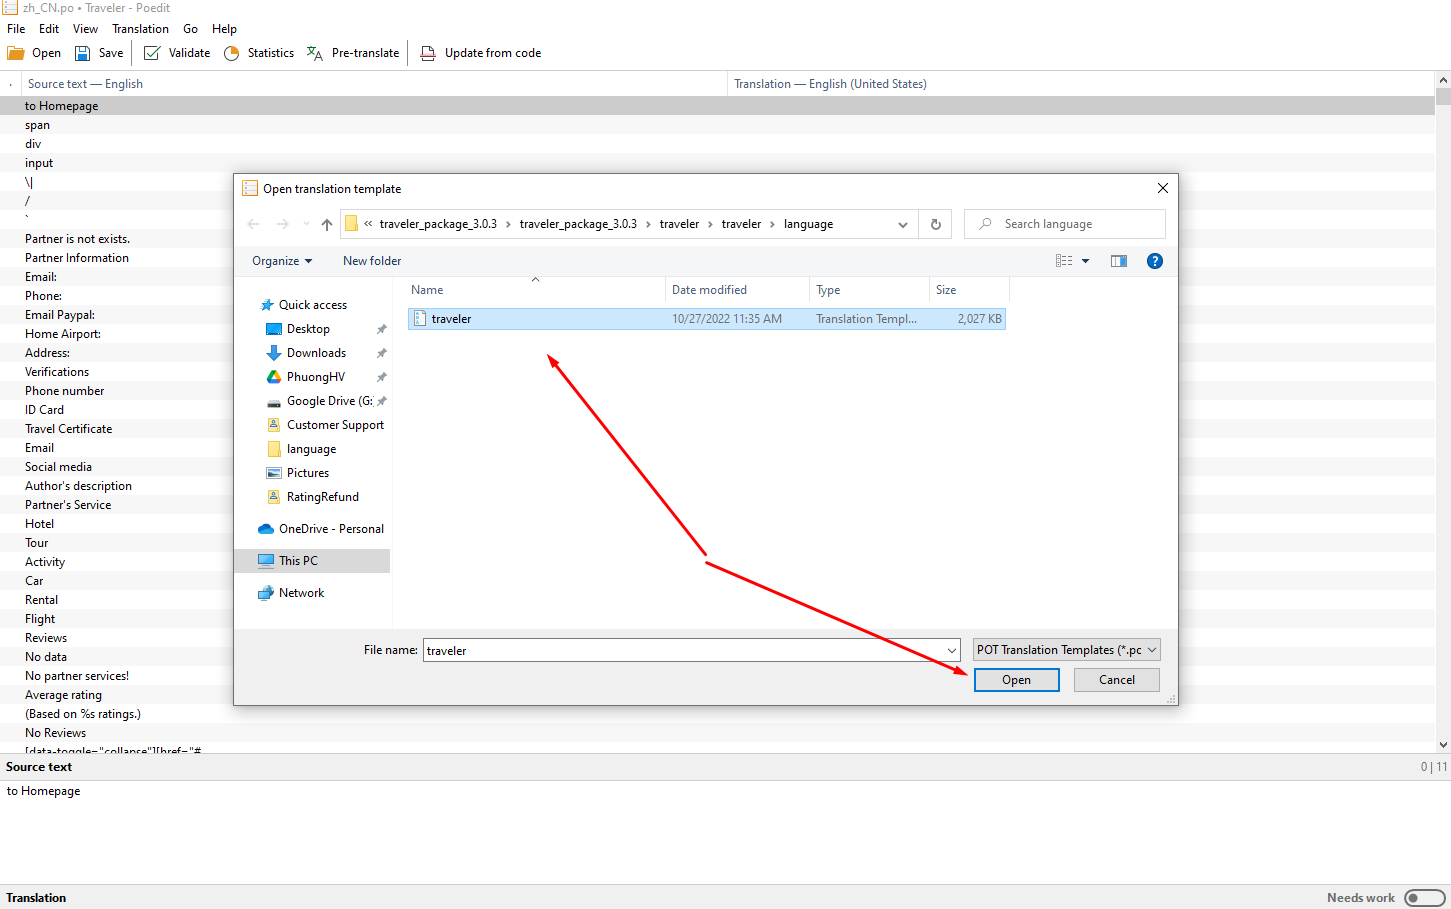
Step 2: Access website files via FTP to the folder wp-content/themes/traveler/language/ and download traveler.pot to your computer.
Alternatively, you can download the latest version of the Traveler package by visiting the Themeforest website, navigating to Profile > Downloads > Traveler > All files and Documentation. Once downloaded, unzip the package to find /traveler/language/traveler.pot.
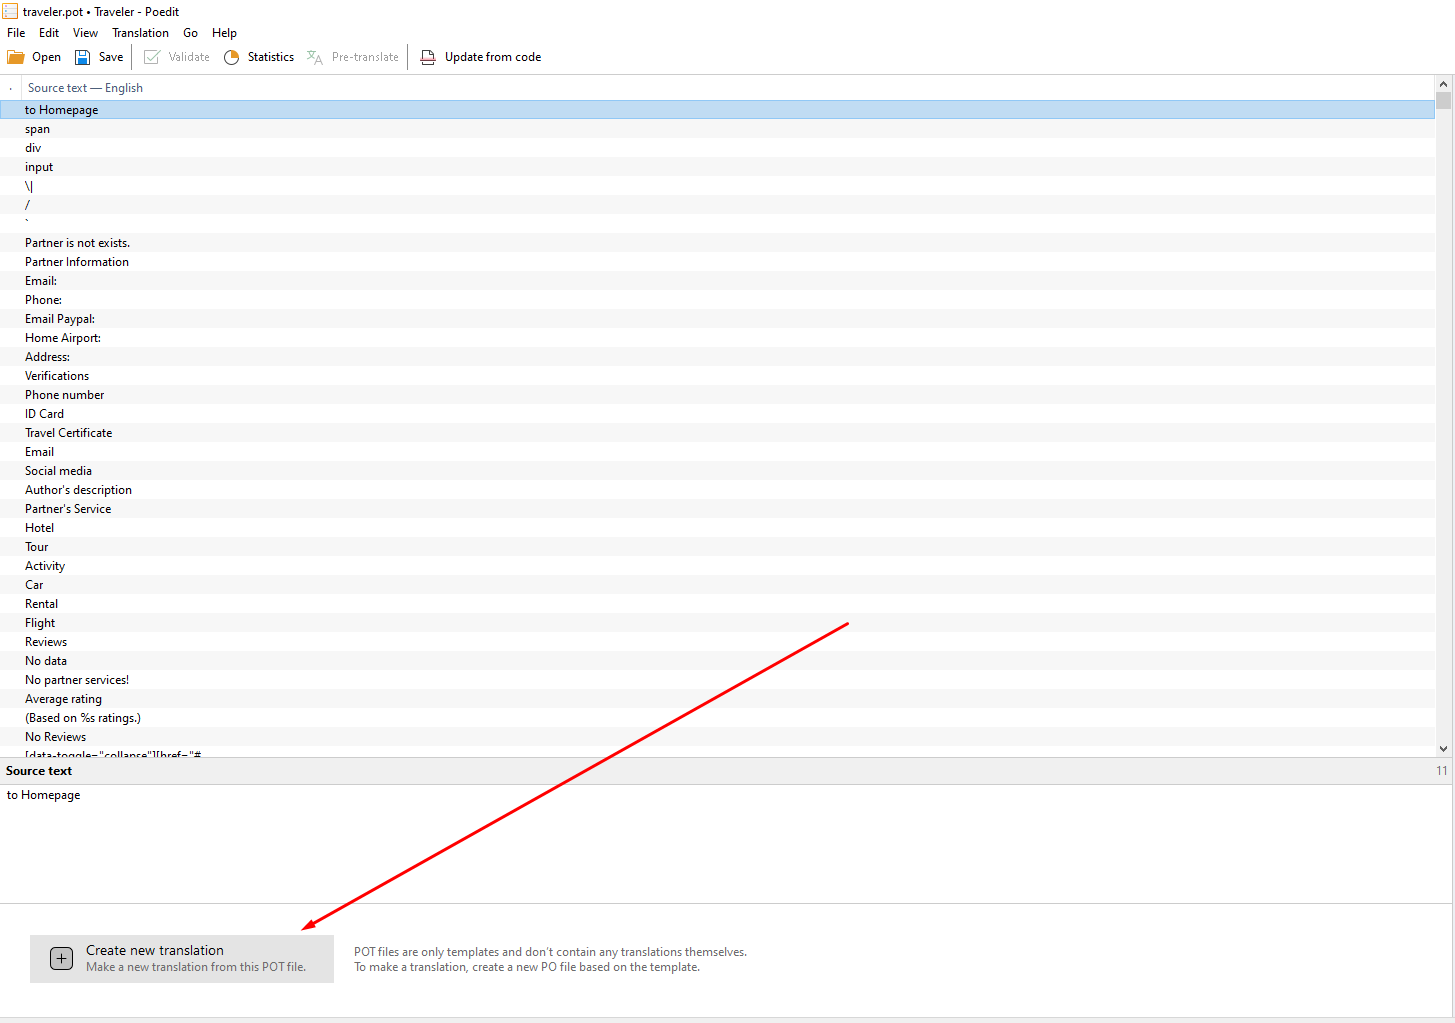
Step 3: Open this file traveler.pot after you’ve downloaded it with Poedit software then create a new translation .po from traveler template
Kindly note that the .pot file is template only and don’t contain any translation themselves. Do not edit .pot file. To make a translation, create a new .po file based on the template by click Create New translation.
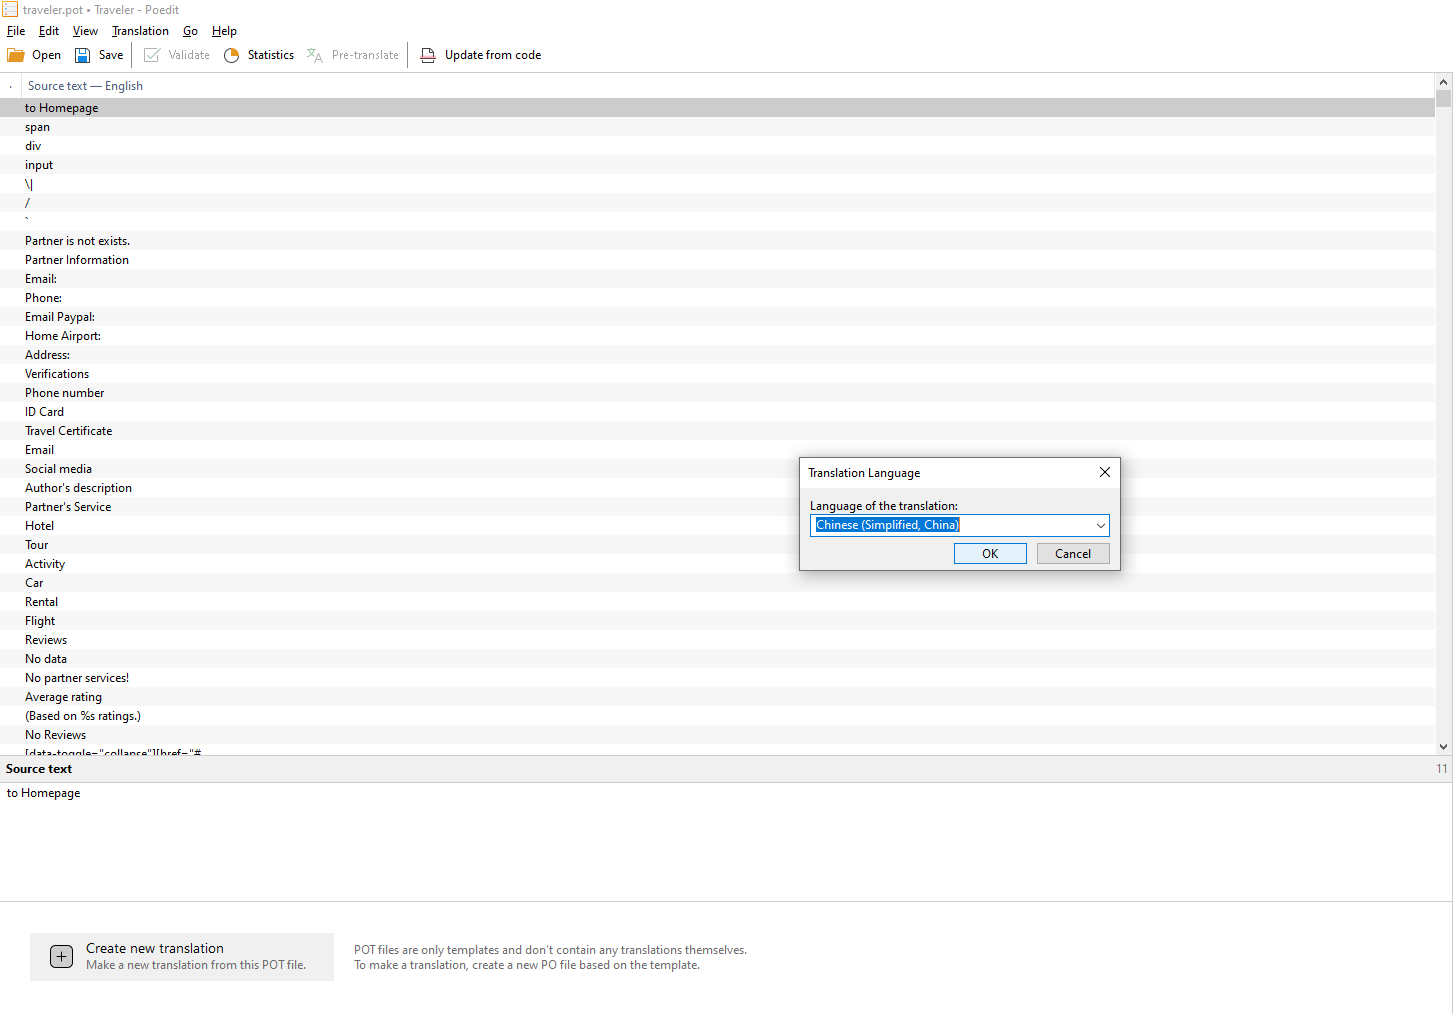
Step 4: Choose the Translation Language. For example, we choose the Chinese(Simplified) language
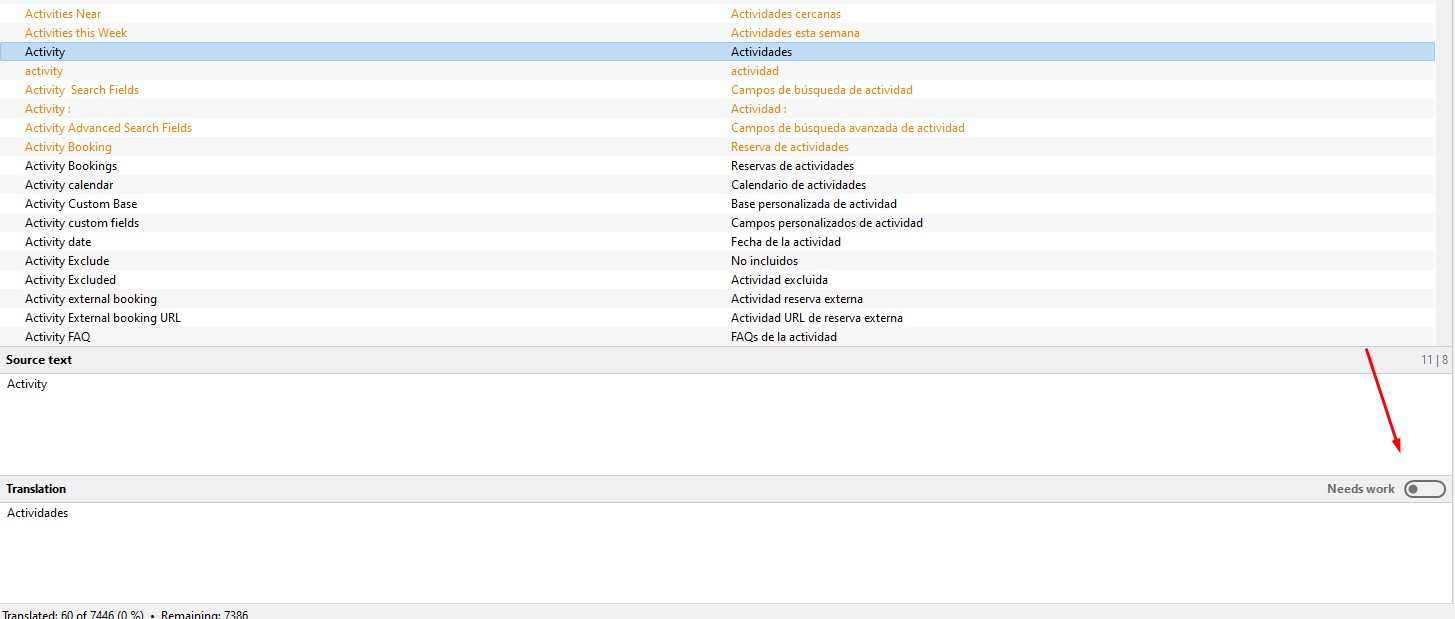
Step 5: Start to translate by input into Translation column
Step 6: Click Save to finish your translation. The filename must be “traveler-localecode“
Where localecode is from list of WordPress Locale Code. For example, Chinese (China) will be traveler-zh_CN and Spanish (Spain) istraveler-es_ESor English is traveler-en_US
Step 7: Upload your language file to the server.
The .po file is used for editing and reading by humans, while the .mo file is used for reading by the system. Once you’ve saved the .po file, PoEdit software automatically generates the .mo file.
For instance, you will have both traveler-zh_CN.po and traveler-zh_CN.mo file.
Upload both files to /wp-content/languages/themes/ (if folder does not exist, just create it)
If you are using WPML, you need to upload also into wp-content/languages/wpml/
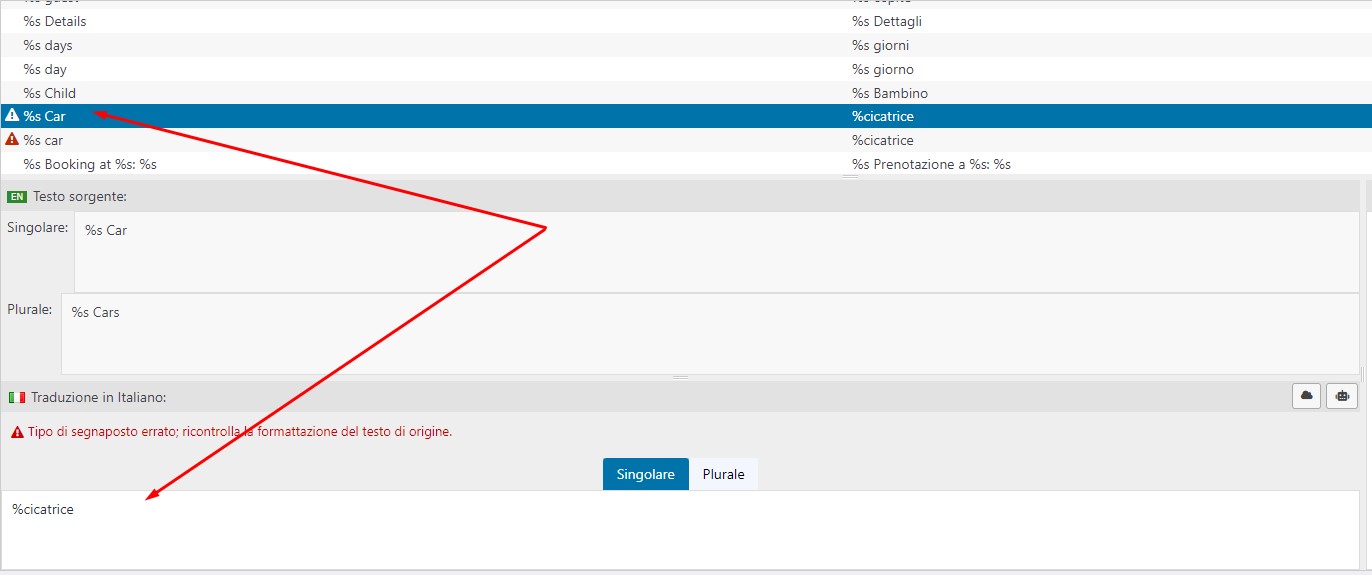
Note 1To translate correctly, you must keep the original formula when translating to other languages. For example, you are going to translate the name of a car into other languages. So, the correct formula should be %s Car to %s ABC ( ABC - the name you want ), not to %ABC
Note 2PoEdit will highlight yellow Needs work on the texts that are suspicious. If you are sure about your translation, kindly uncheck “Needs work” to let Poedit allow this translation
3. Updating full words
With each new version release, Traveler may add more words that need to be translated. You should update these new words in your .po language files.
Download the latest theme package and locate to \traveler\language\traveler.pot. This file contains all words from the latest update
Download and open your current .po language files
In the Poedit application, go to Translation > Update from POT file
Locate the latest traveler.pot file from step 1. Now you can translate the latest updated word
4. Translation when use child-theme
Generally, the admin puts the language file in the /themes/traveler/language folder if they’re only using the Traveler theme and not a child theme. However, these files can be overwritten when the theme updates.
To prevent this, you should put your language file in the /themes/traveler-childtheme/language folder. This way, your language file will be saved when the theme updates. Here’s what you need to do:
Activate your traveler-childtheme theme.
Create the language directory inside /themes/traveler-childtheme/ if it doesn’t already exist
Put your language file in the /themes/traveler-childtheme/language folder.
4. Translating Plugin
To translate the text of an addon, plugin, or extension, you can do so by using the .pot file located in the language folder of plugin. For instance, you might find the file traveler-layout-essential-for-elementor.pot inside wp-content/plugins/traveler-layout-essential-for-elementor/language
Once you’ve translated the text, you should name the language file pluginfoldername-localecode, where “localecode” is the language code you’re translating to and pluginfoldername is the name of plugin directory
For example, if you are translating Traveler Layout Essential For Elementor into French the filename must be traveler-layout-essential-for-elementor-fr_FR
After translation, put .po .mo files into wp-content/languages/plugins
5. Translating text of child-theme
This section is for developers only, for translating text which have been coded in childtheme Insert these codes into traveler-childtheme/functions.php. The system will know to read language files from traveler-childtheme, instead of traveler.