NEW VERSION 3.0.9 – The ability to choose car transfer search page style

New Version 309 Home

What's New in Traveler 3.0.9

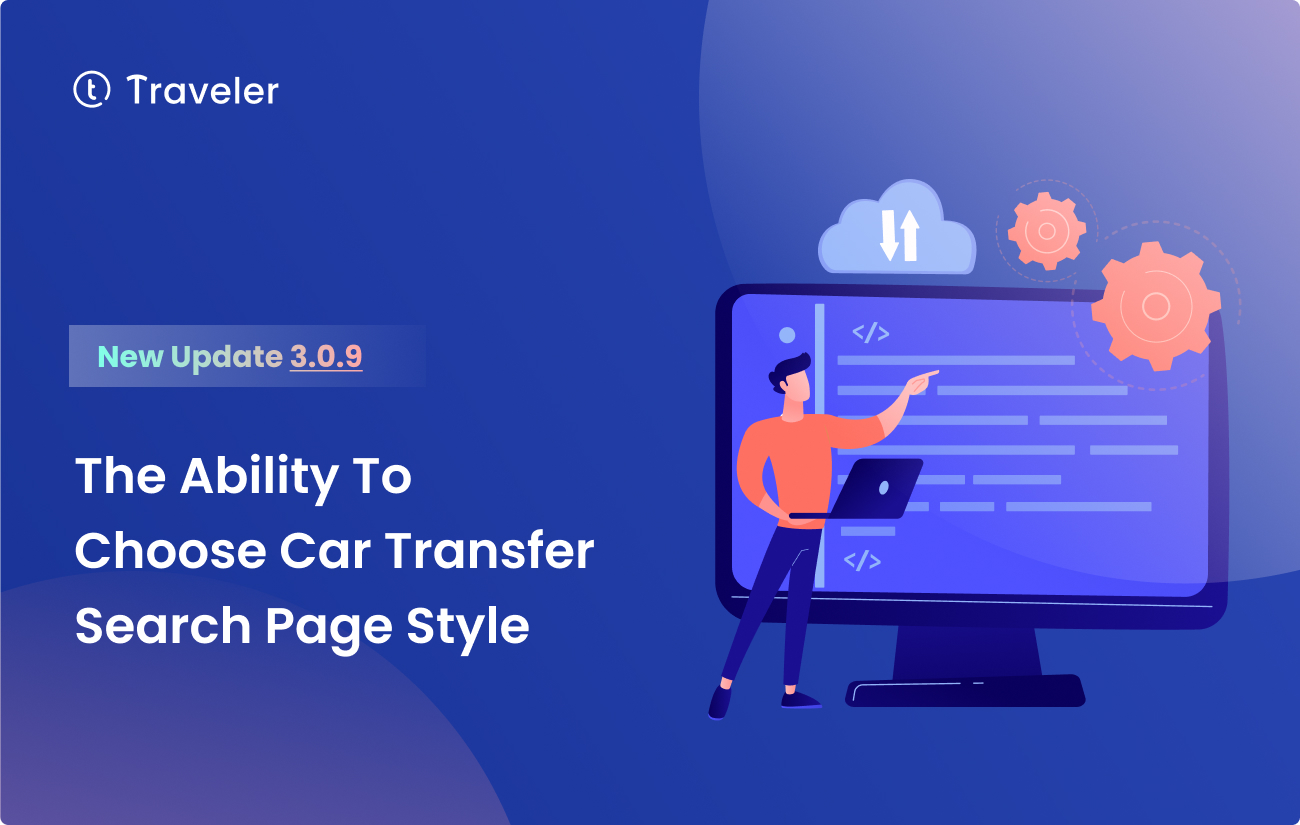
We are delighted to announce that the newest version Traveler 3.0.9 is now available on July 10, 2023. To provide a more seamless and engaging experience for your users, we are continuously working to improve your website’s performance, functionality, and stunning new layouts.

NOTE: You should reinstall three plugins Traveler Layout Essential For Elementor, Traveler Code, and OptionTree, and activate them again to make sure the new update works correctly.

New Version 308 Image 3

Set style for Car Transfer Search Result Page

In this version, we recognize that providing a seamless user experience is crucial for your travel website, and now you are allowed to choose the car transfer page search style. Let’s explore into the step-by-step process of changing the layout effortlessly:

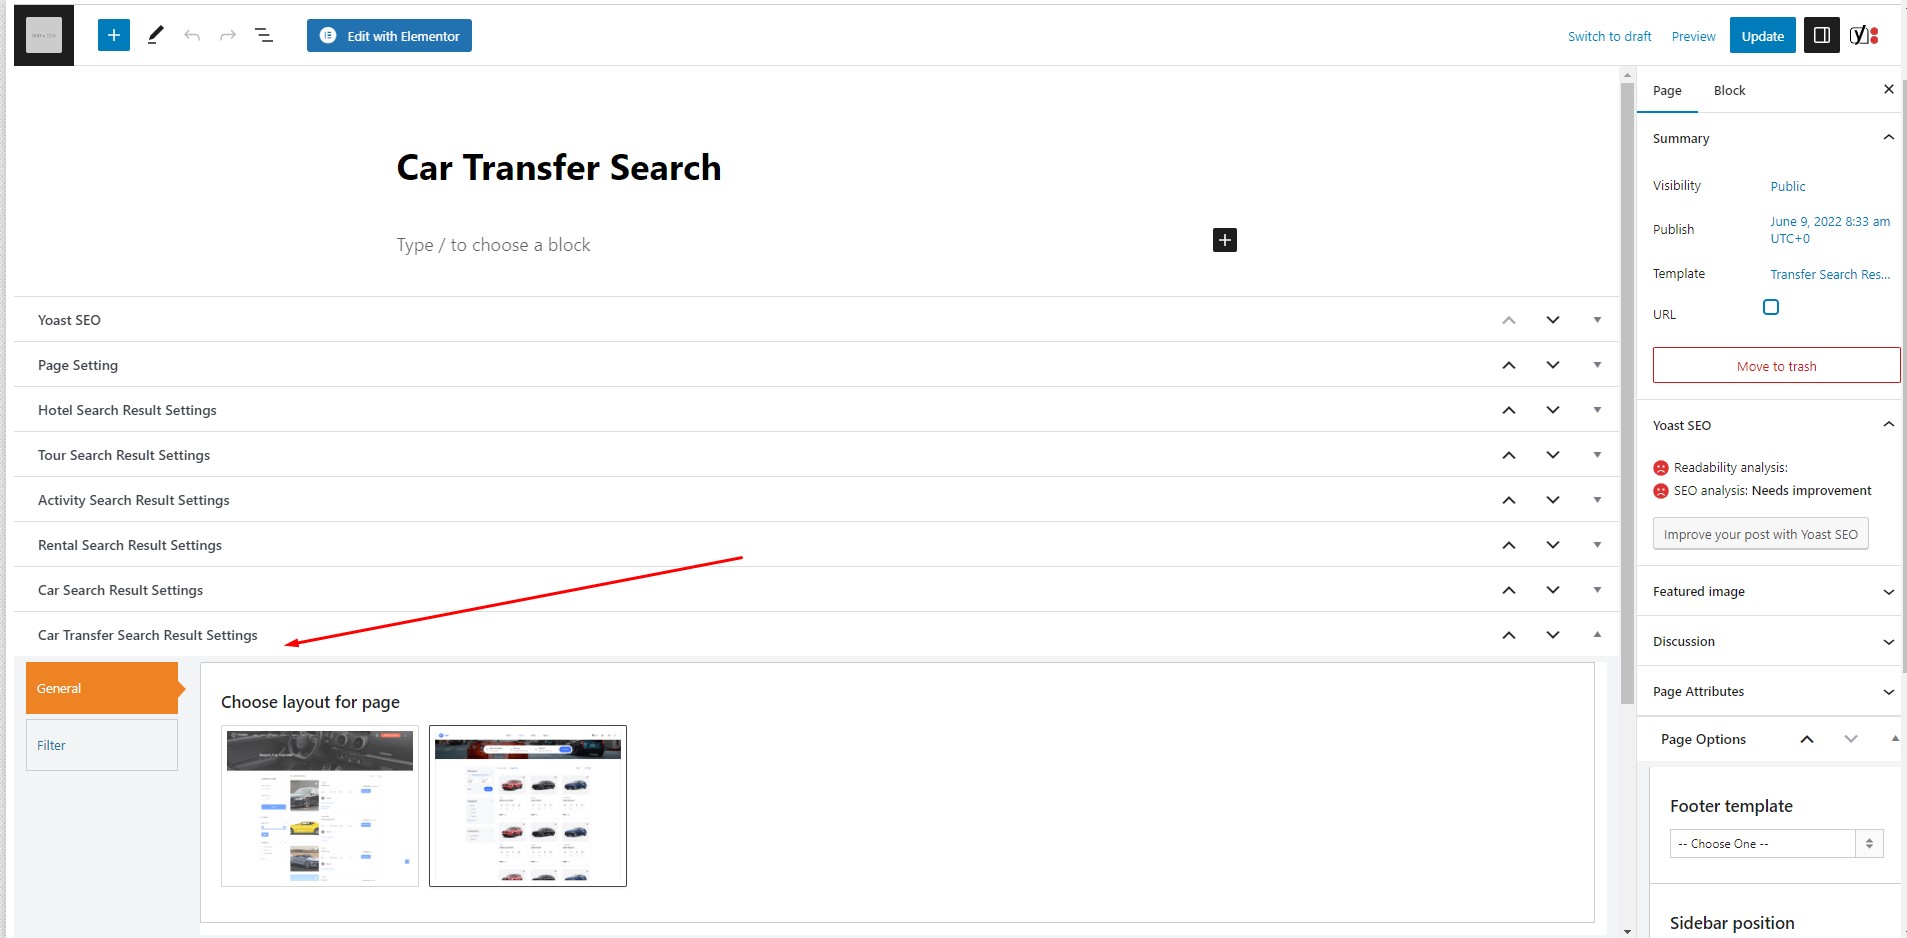
  1. On the WordPress Dashboard, go to Pages > All Pages
  2. Search for your car transfer search result, for example, I will choose a Car Transfer Search to edit it
  3. Scroll down the page until you reach the Car Transfer Search Result Settings section.
  4. Within the Car Transfer Search Result Settings section, you’ll find options to customize the layout and filter settings.
  5. Once you have adjusted the layout and filter settings to your satisfaction, click the Update or Publish button to save the changes.

To learn more about how to add a new car transfer page, please read our article How to add a new car transfer

NOTE: Please keep in mind that this layout change is applicable ONLY to the Elementor demo, not the WPBakery demo.

Car Transfer Image 6

ST Form Builder

To select the checkout form template and customize it in Traveler 3.0.9, please follow the steps below:

  1. On the WordPress Dashboard, go to Theme Settings and click on ST Form Builder from the options.
  2. In the ST Form Builder, click on the Create New Form button to create a new form for the checkout.
  3. Add the desired fields to the form based on your requirements. You can choose from basic, user, or advanced fields to include on the booking form.
  4. Customize the fields as needed. For example, you can create checkboxes, text areas, number fields, or dropdown fields.
  5. Save the form by clicking the Save Form button.
  6. Next, go to Theme Options and select Booking Options, locate ST Form Builder and click on it.
  7. You will see the option to select the form for the checkout template.
  8. Choose the form name you created earlier from the available options, and click Save Changes

To learn more about how to edit a checkout form by ST Form Builder?, please read our article

How to edit checkout form by ST Form

Checkout Form 32
Logo White

Unleash The Full Potential of Your Travel Agency Website with Traveler

$79