How to set up social login (Google, Facebook, Twitter )?
Table of Contents
Social Login is exclusively available for regular users (Subscriber role). Other user roles, such as Partner, cannot use the Social Login feature and must sign in or sign up through the default method only.
Social Login Plugin
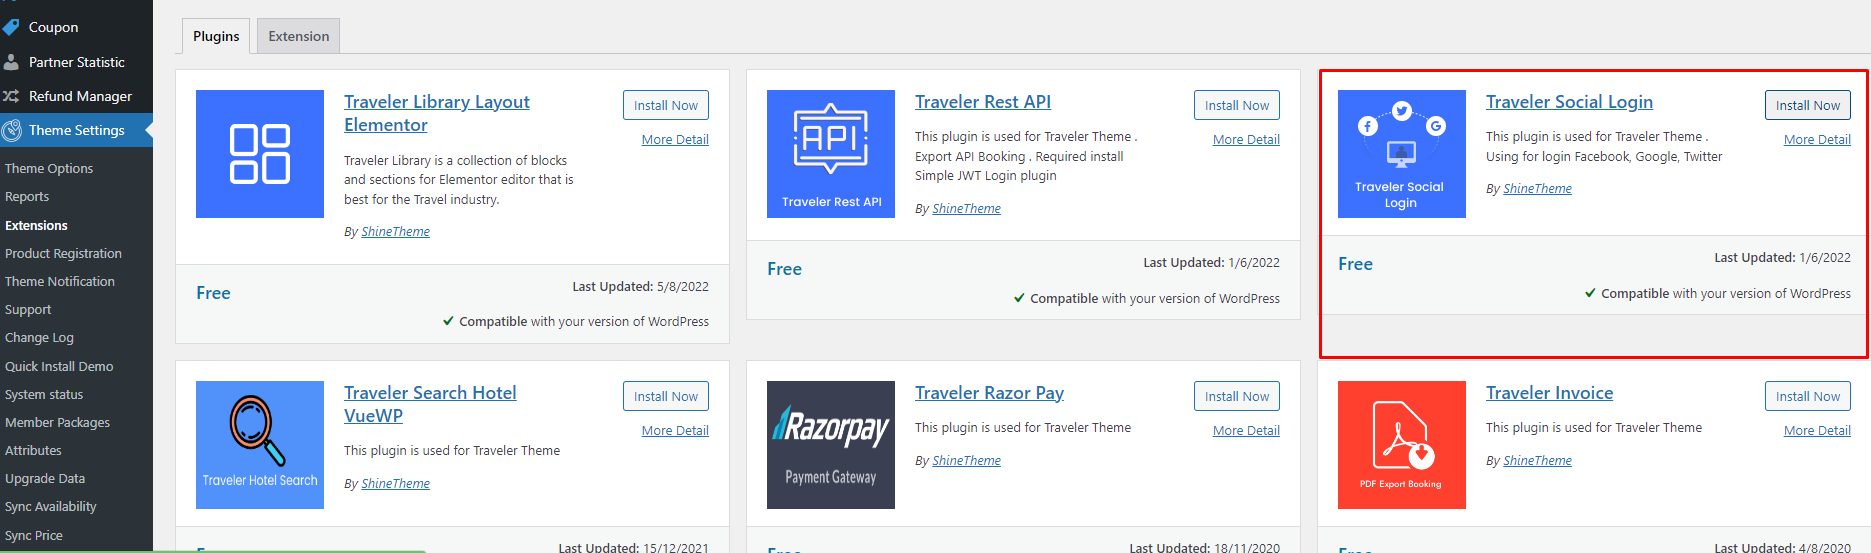
To add Facebook, Google, and Twitter login to your website, you need to install and activate Traveler Social Login plugin on Theme Settings > Extension
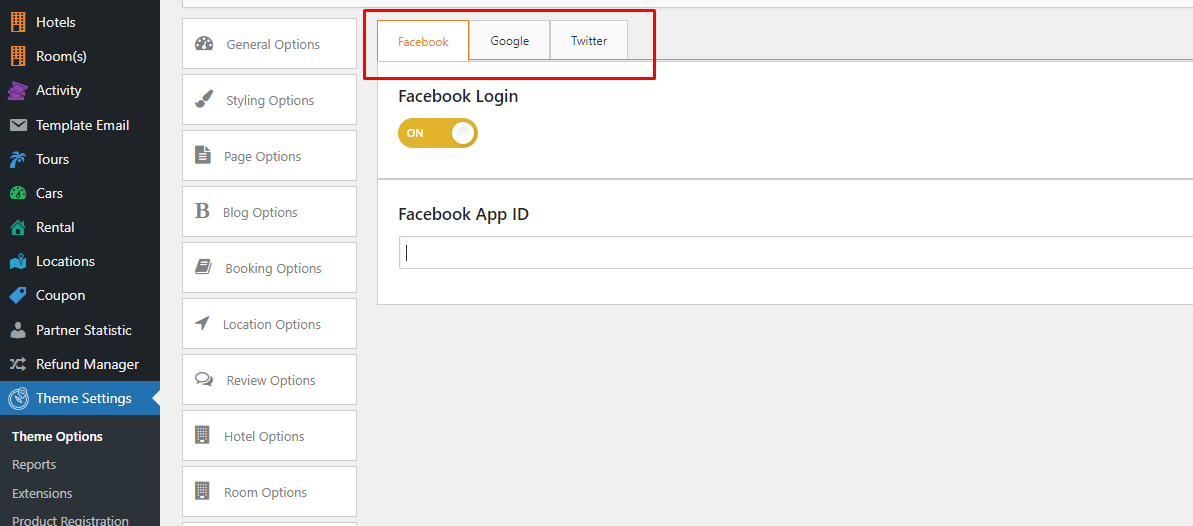
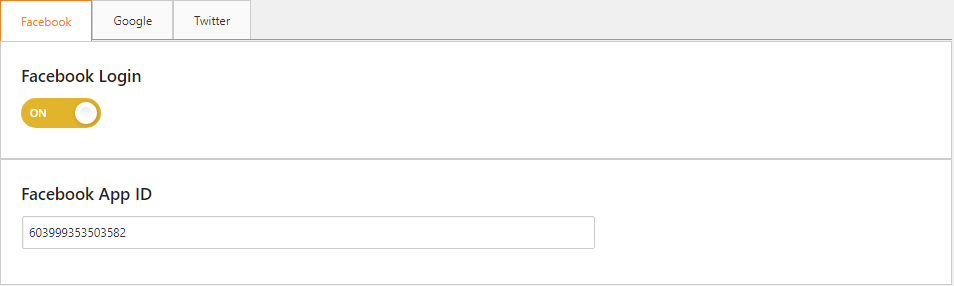
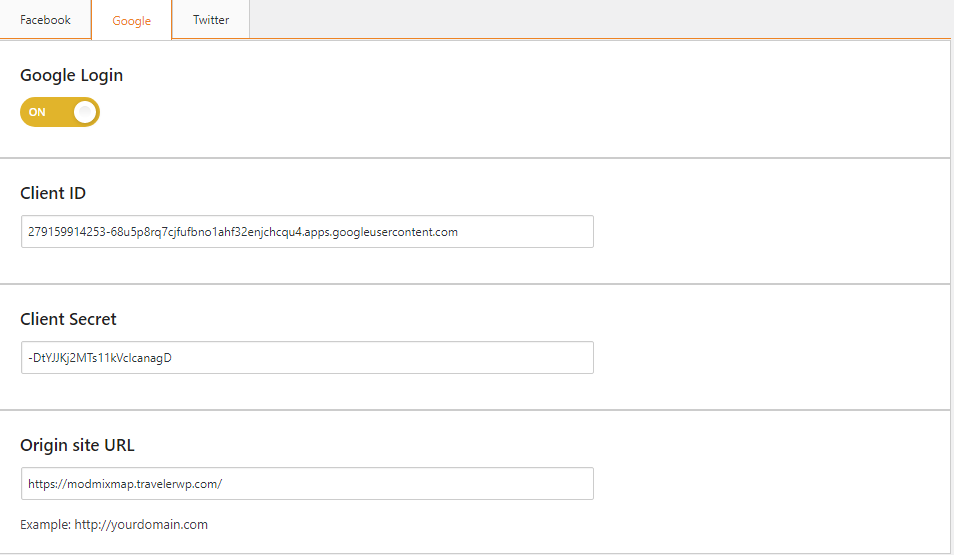
Go to Theme Settings > Theme Options > Social Options
Finally, copy and paste your Client ID and Client Secret on Theme Settings > Theme Options> Social Option
Log in with your Google credentials if you are not logged in.
If you don’t have a project yet, you’ll need to create one. You can do this by clicking on the blue “Create Project” text on the right side! ( If you already have a project, then in the top bar click on the name of your project instead, which will bring up a modal and click “New Project“. )
Name your project and then click on the “Create” button again!
Once you have a project, you’ll end up in the dashboard. ( If earlier you have already had a Project, then make sure you select the created project in the top bar! )
Click the APIs & Serrvices > OAuth consent screen” button on the left hand side.
Choose a User Type according to your needs and press “Create“. If you want to enable the social login with Google for any users with a Google account, then pick the “External” option! Note: We don’t use sensitive or restricted scopes either. But if you will use this App for other purposes too, then you may need to go through an Independent security review!
Enter a name for your App to the “App name” field, which will appear as the name of the app asking for consent.
For the “User support email” field, select an email address that users can use to contact you with questions about their consent.
Under the “Authorized domains” section press the “Add Domain” button and enter your domain name
At the “Developer contact information” section, enter an email address that Google can use to notify you about any changes to your project.
Press “Save and Continue” then press it again on the “Scopes“, “Test users” pages, too!
On the left side, click on the “Credentials” menu point, then click the “+ Create Credentials” button in the top bar.
Choose the “OAuth client ID” option.
Select the “Web application” under Application type.
Enter a “Name” for your OAuth client ID.
Under the “Authorised redirect URIs” section click “Add URI” and add the following URL: https://yourdomain/wp-admin/admin-ajax.php?action=st_googleplus
Note: Change “yourdomain” to your real domain, such as https://travelerwp.com/wp-admin/admin-ajax.php?action=st_googleplus
Add “Authorized JavaScript origins” is your domain
Click on the “Create” button
A modal should pop up with your credentials. If that doesn’t happen, go to the Credentials in the left hand menu and select your app by clicking on its name and you’ll be able to copy-paste the “Client ID” and “Client Secret” from there.
Currently your App is in Testing mode, so only limited number of people can use it. To allow this App for any user with a Google Account, click on the “OAuth consent screen” option on the left side, then click the “PUBLISH APP” button under the “Publishing status” section, and press the “Confirm” button.
Here is the video to show you how to add Google login to your website
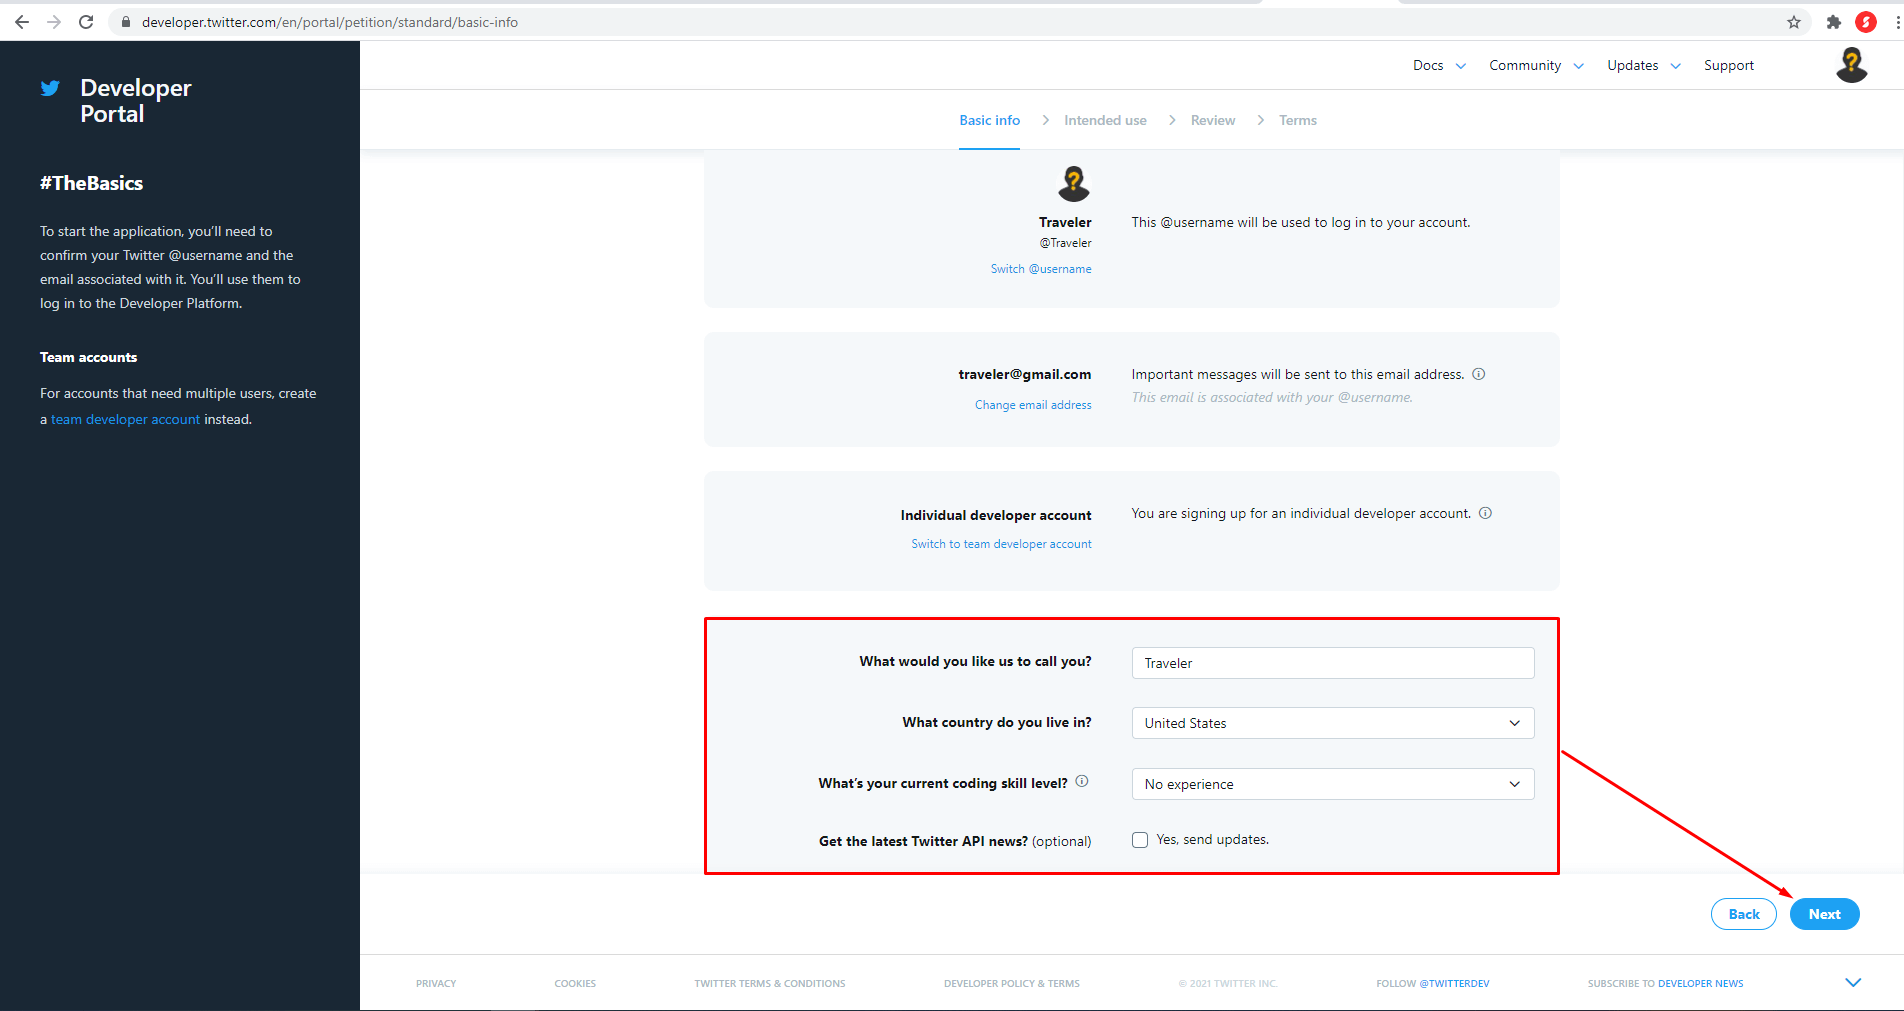
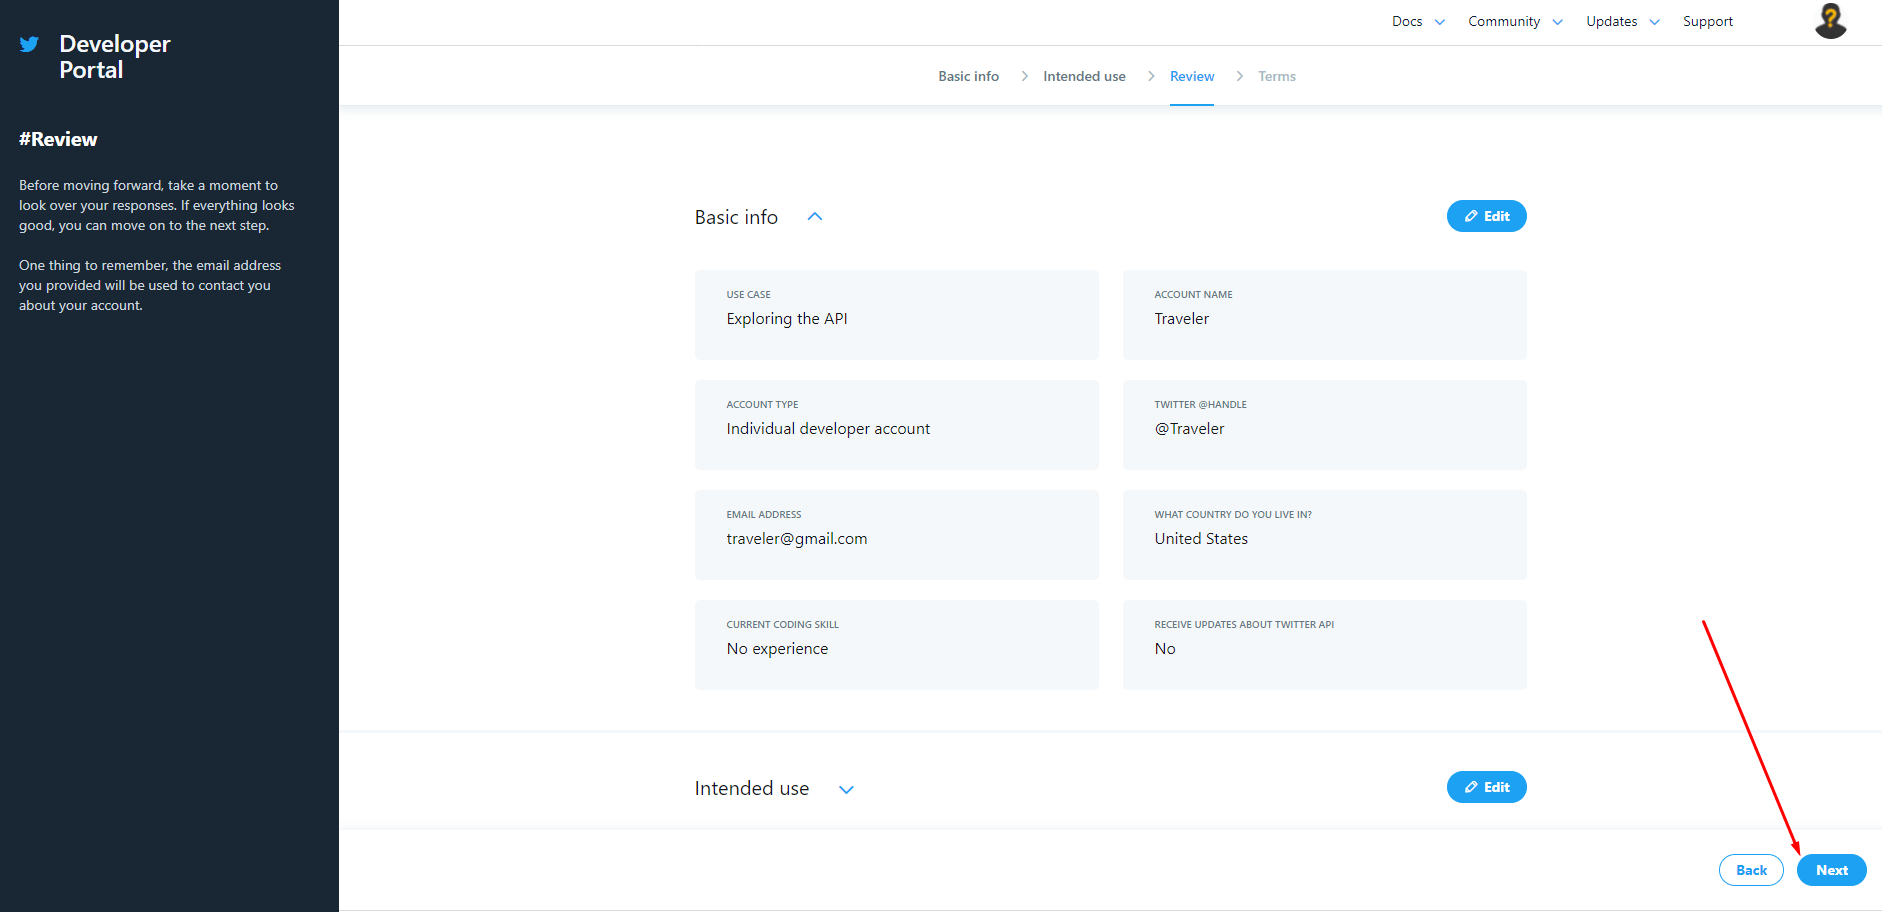
Fill in the basic information and click Submit Application
Check your new email to verify your account
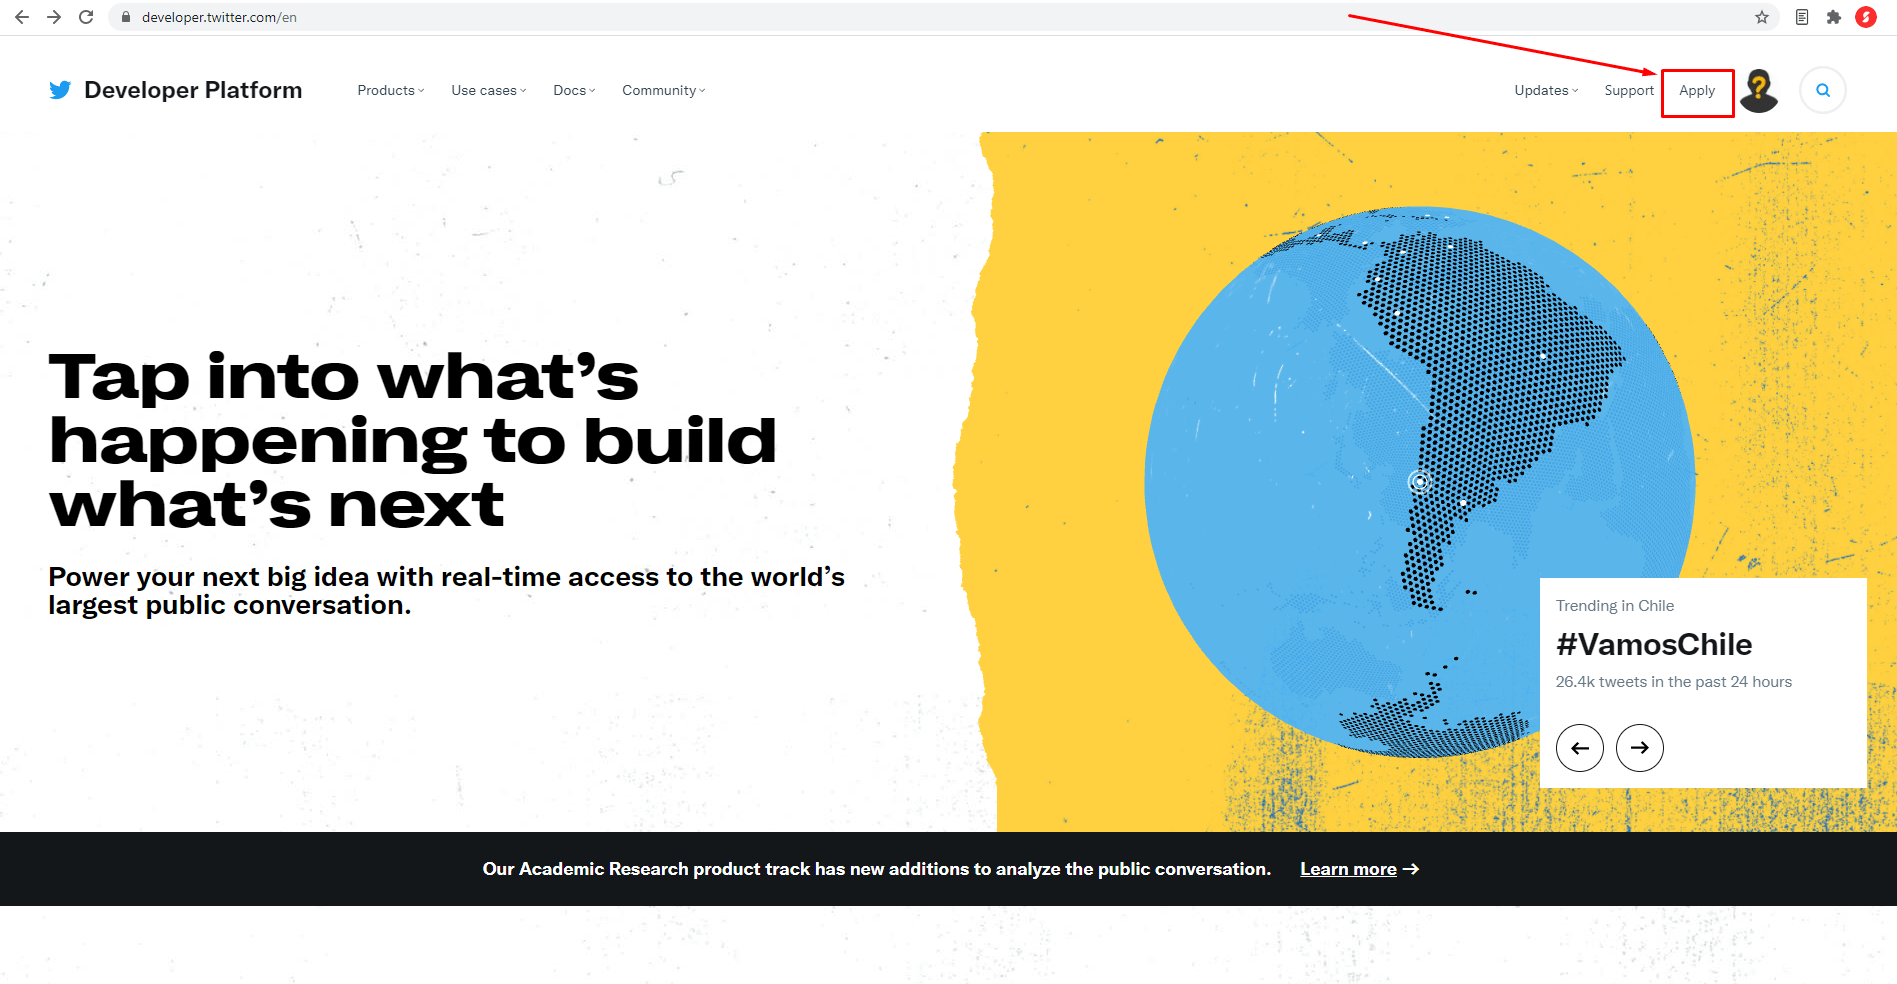
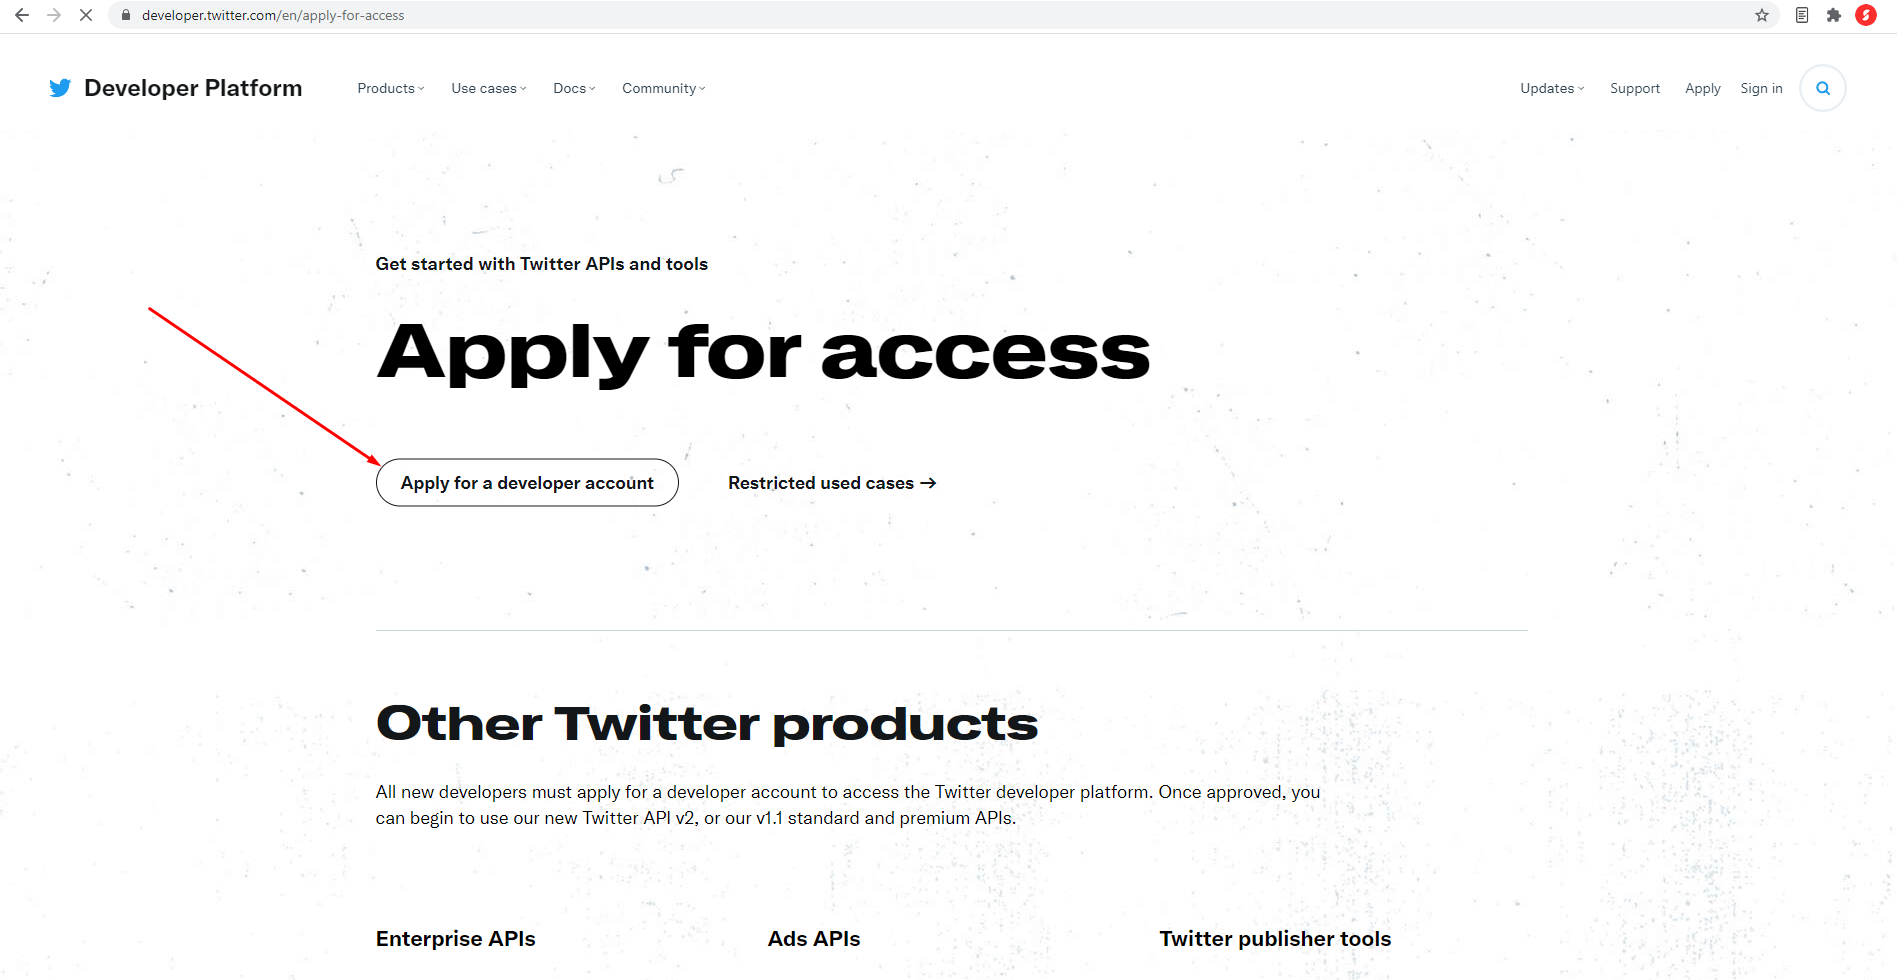
Create Twitter Developer Account
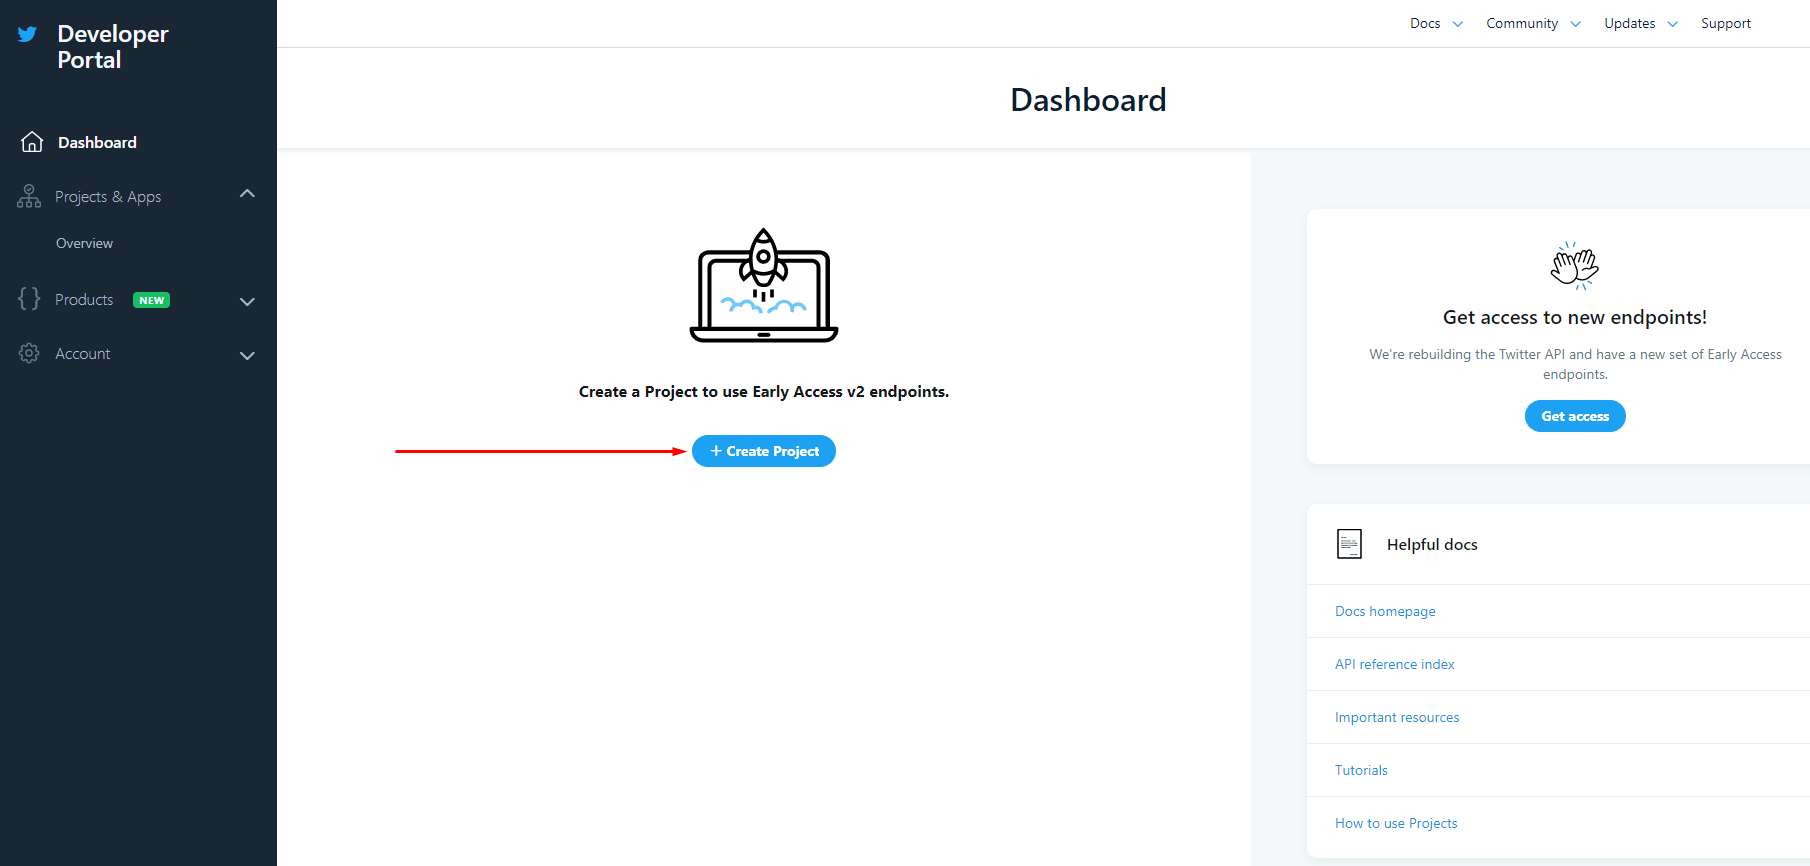
Click Create Project
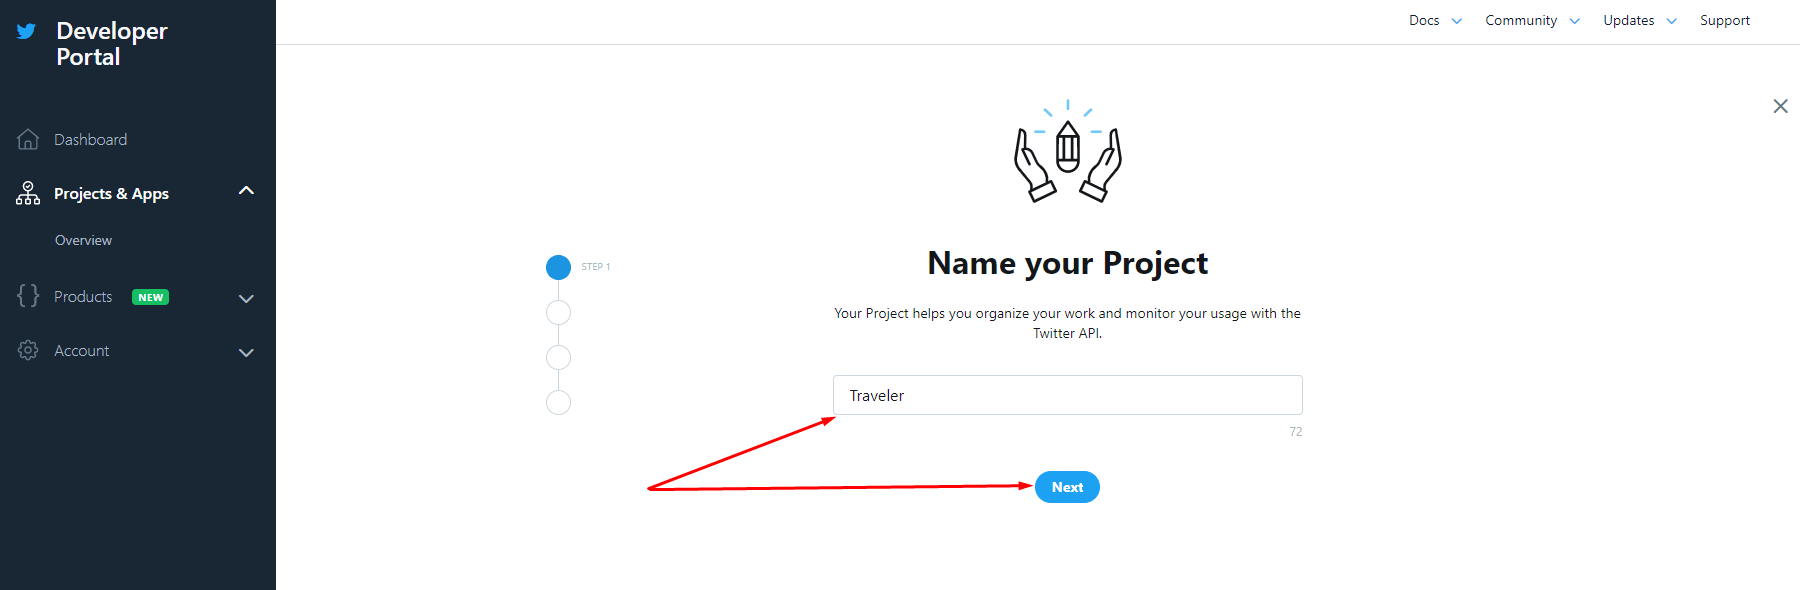
Name your project
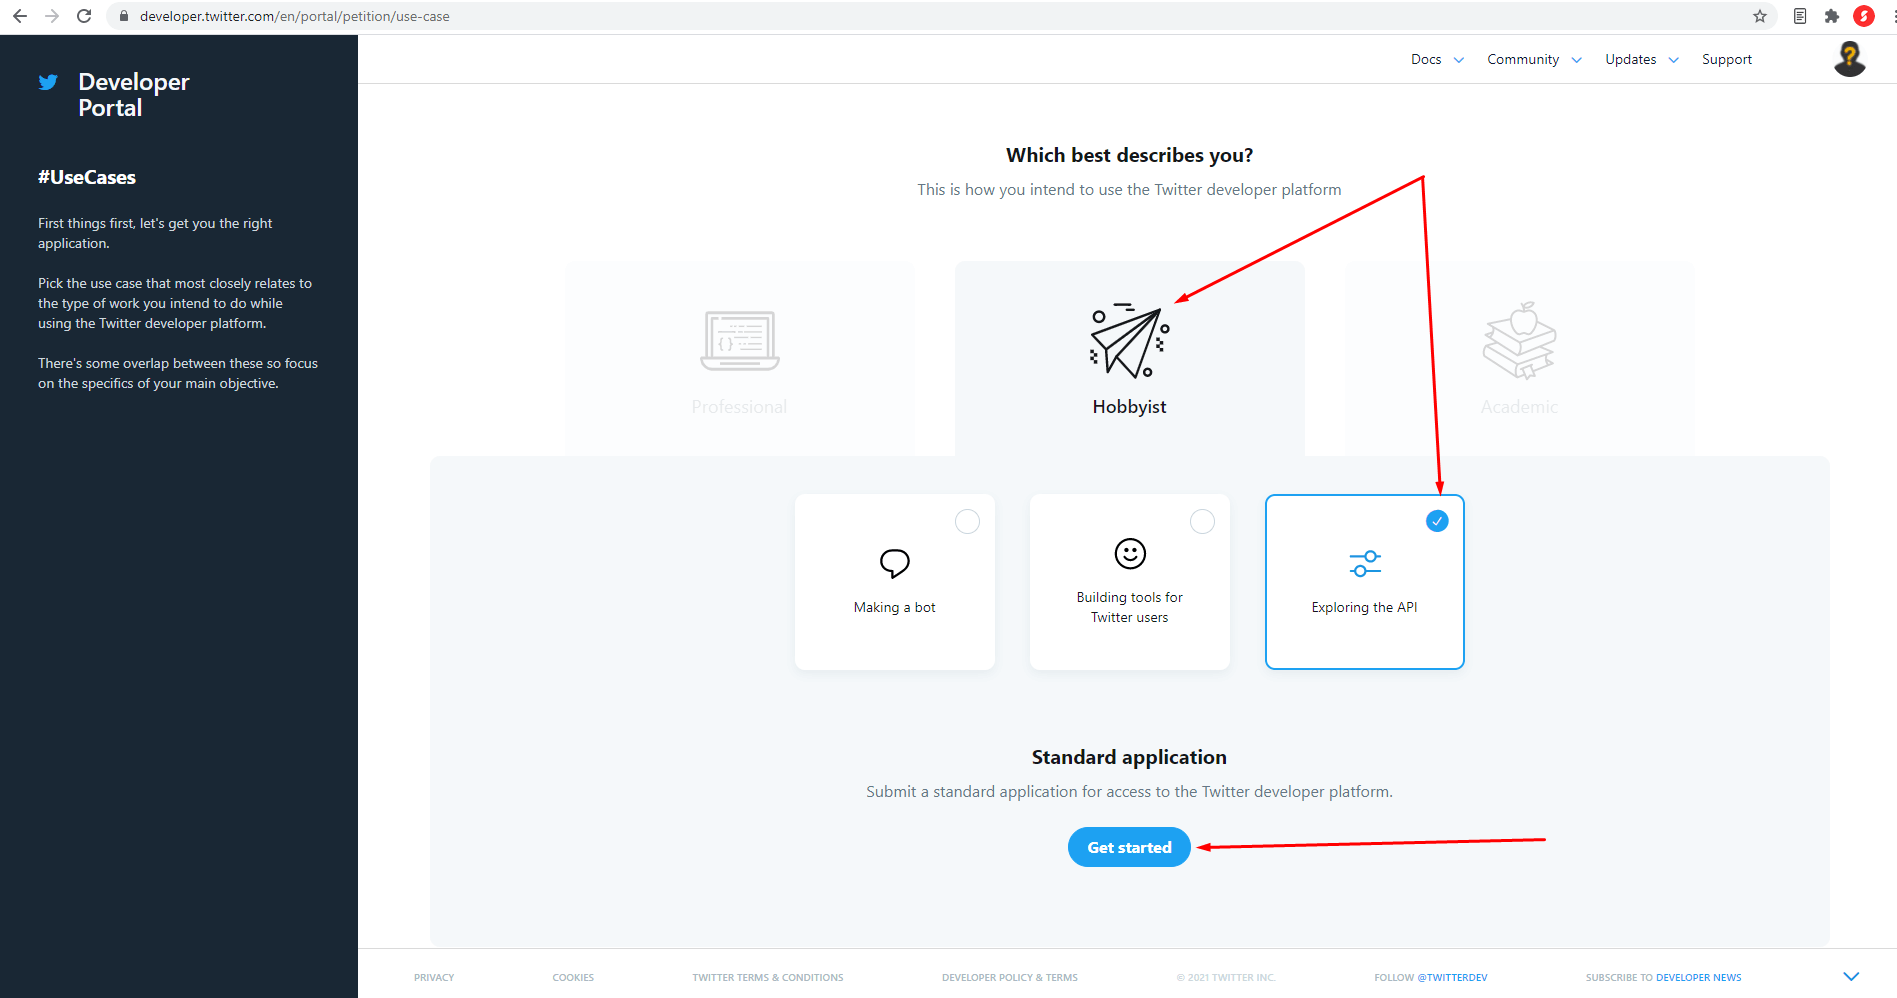
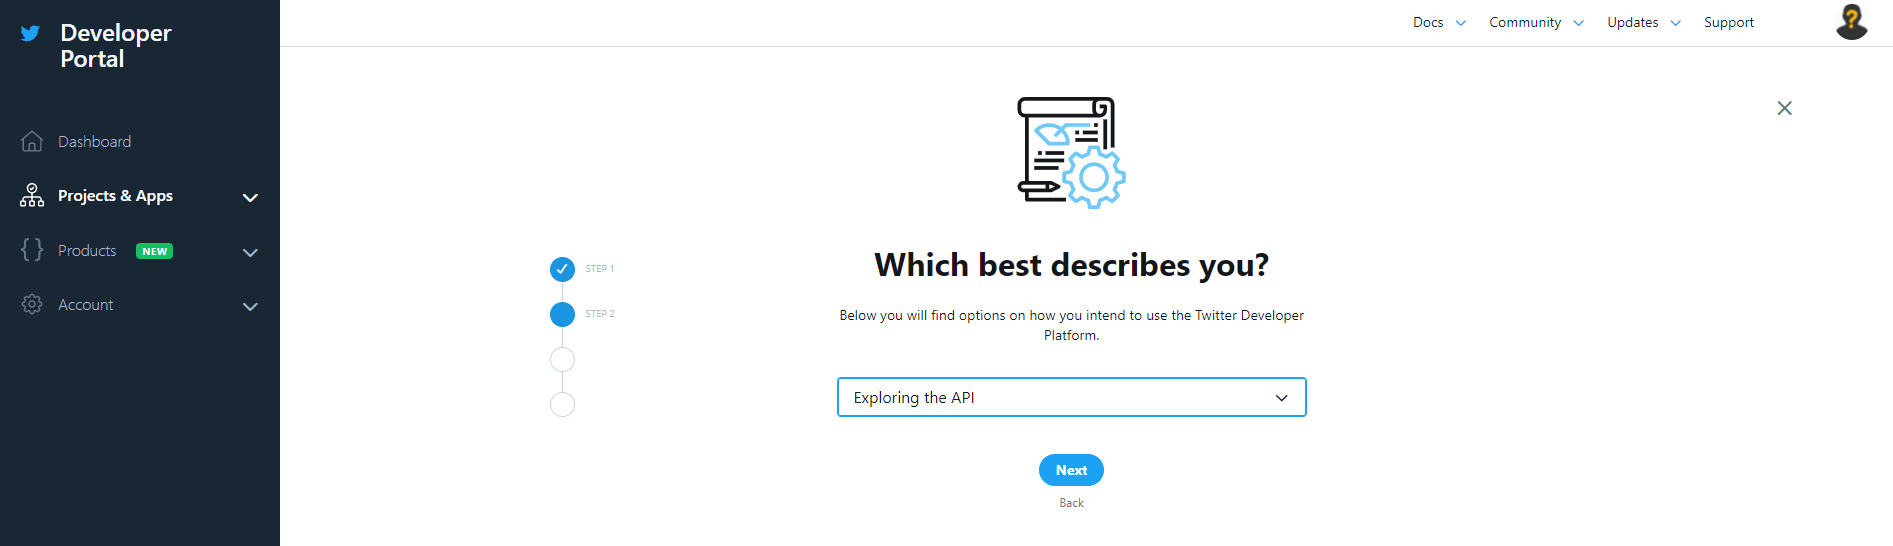
Which best describe you?
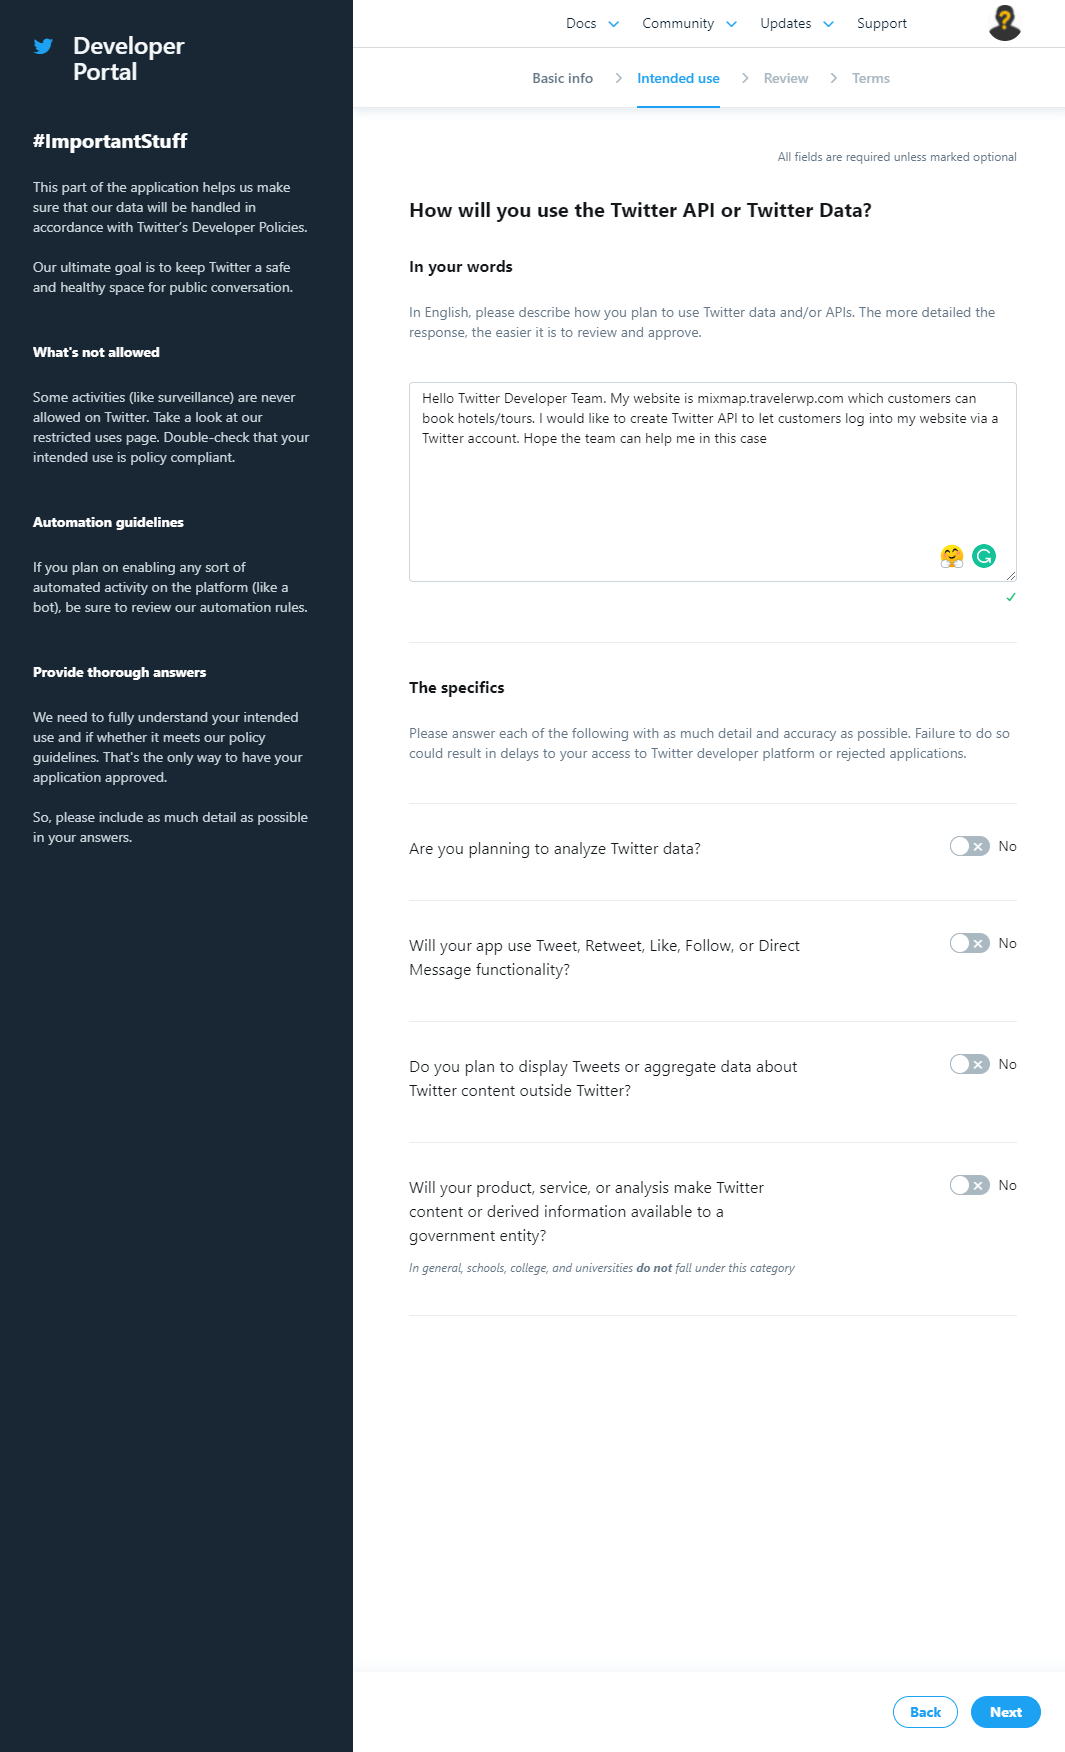
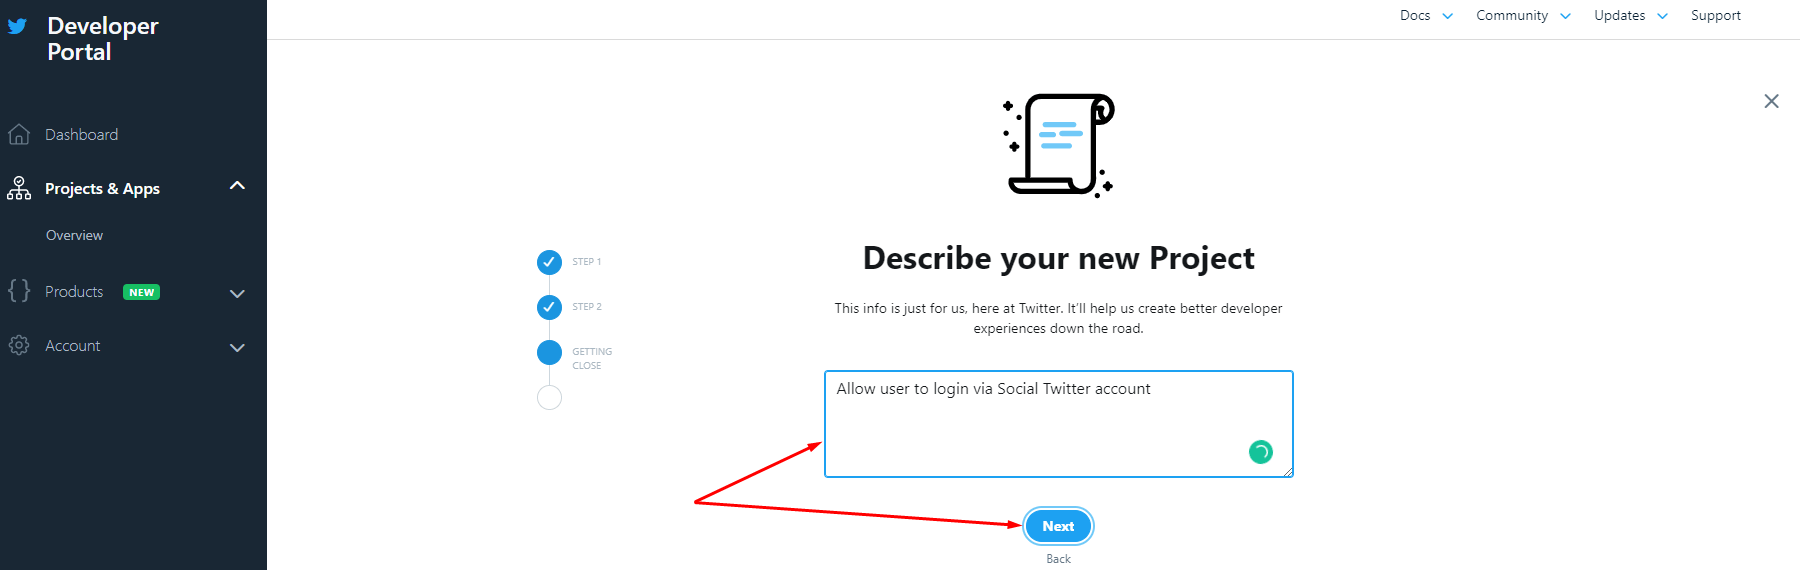
Describe your new project?
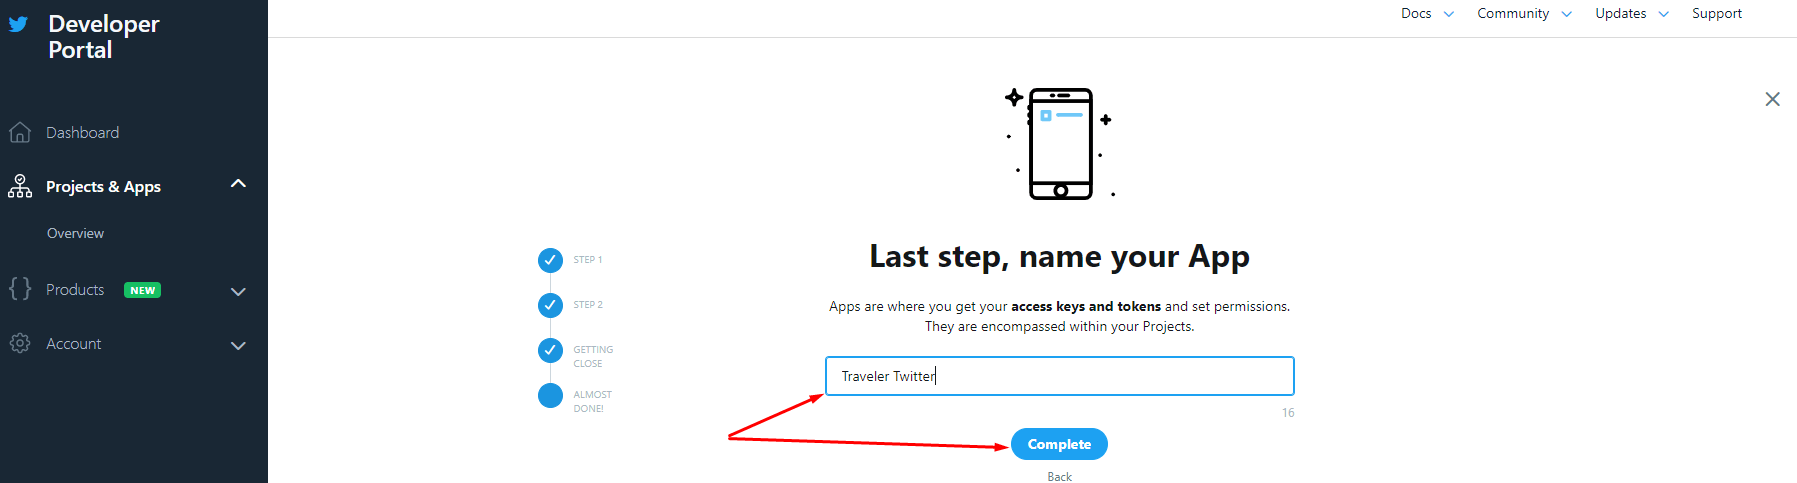
Name your app
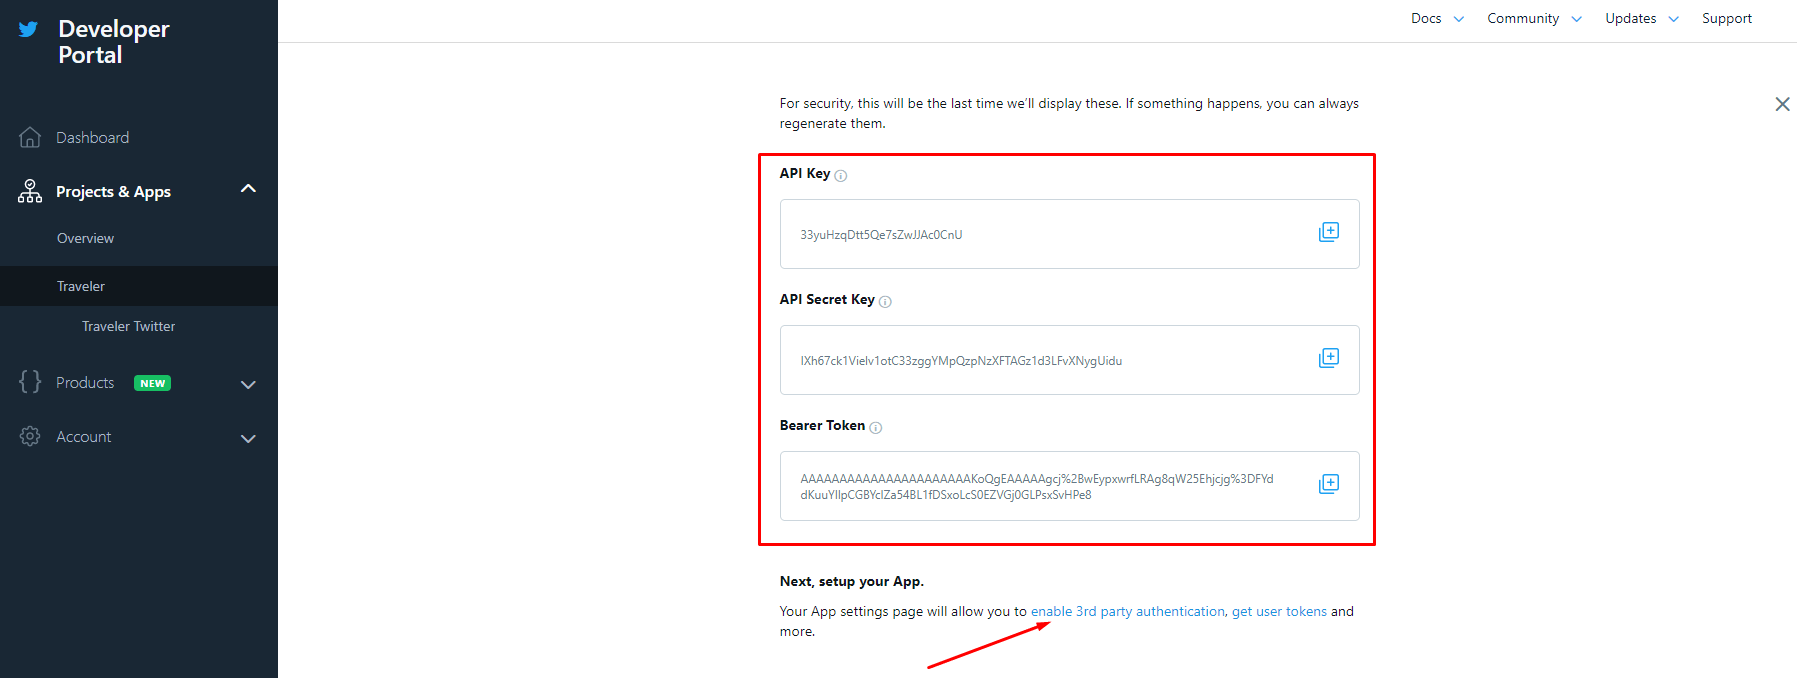
Save your API Key and API Secret Key
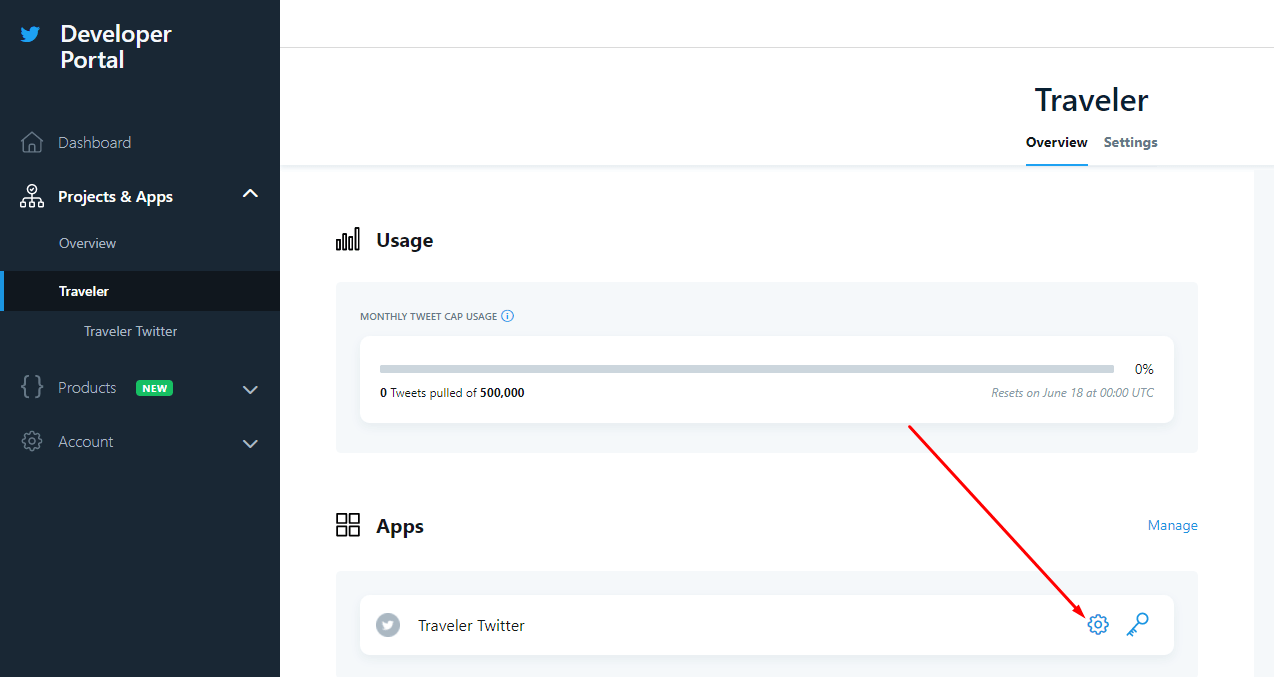
Edit Your App
Click on your app (eg Traveler Twitter) and edit it in Settings
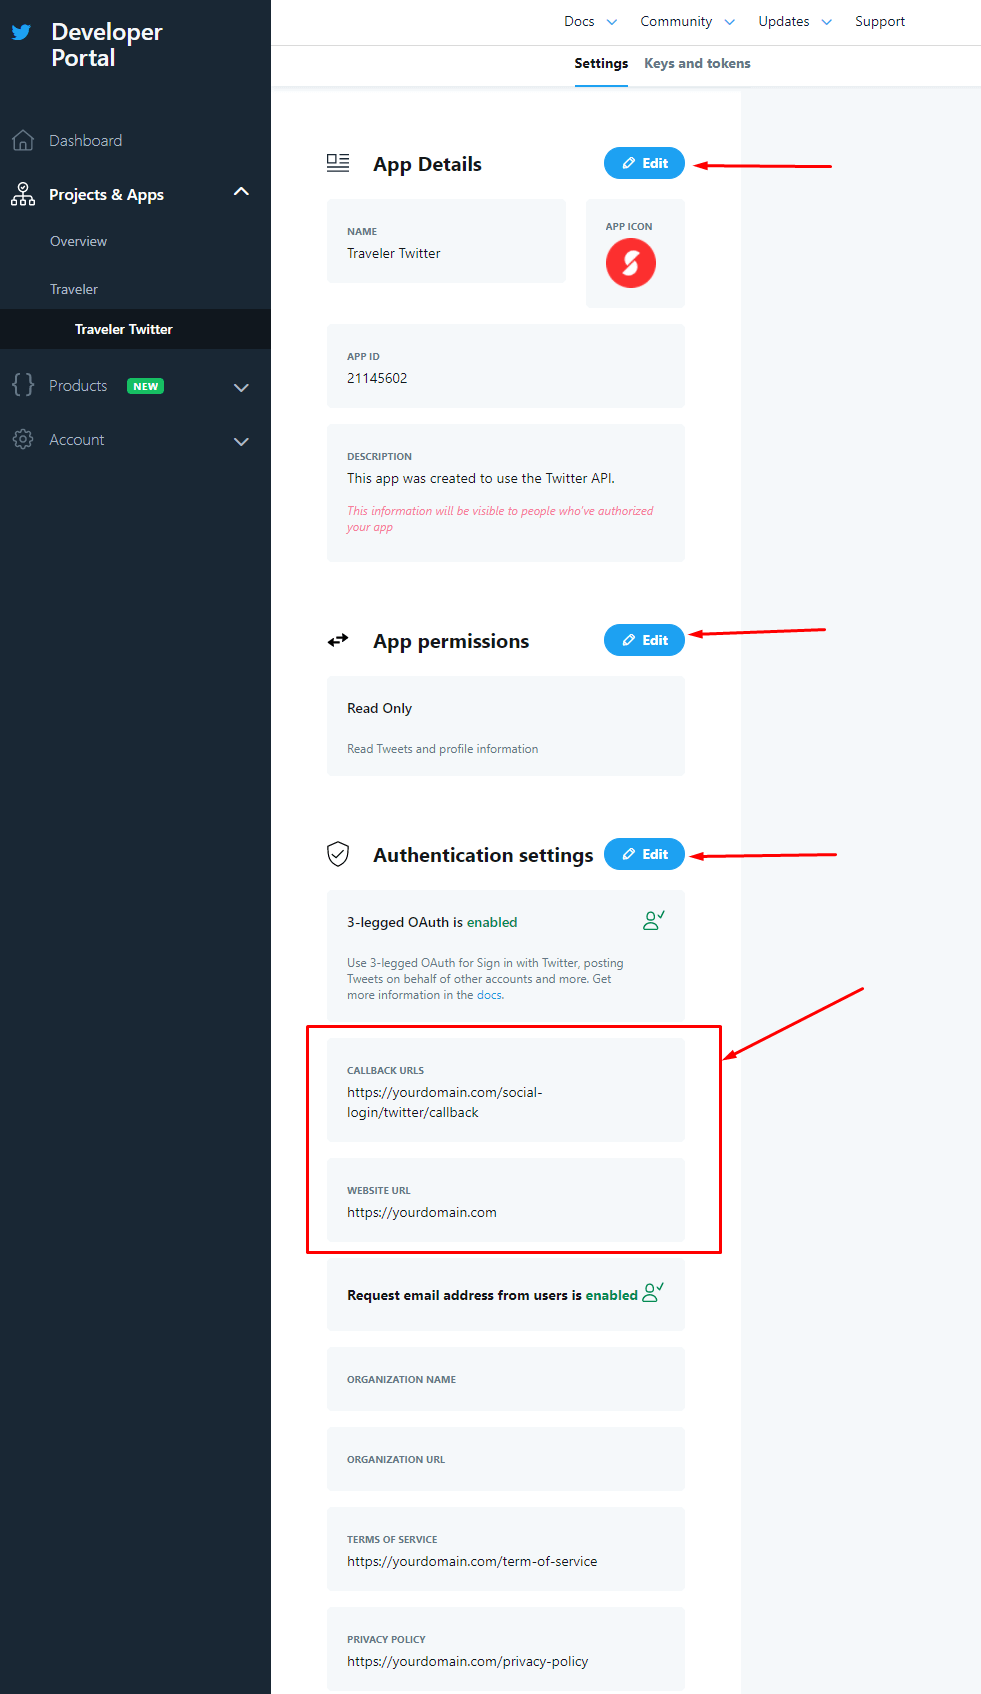
App Name: your app name – Traveler Twitter
App Icon: your app icon
Description: this app was created to use the Twitter API
App Permission: Read Only
3-legged OAuth: set enabled
Callback URL: use this suffix after your domain URL /social-login/twitter/callback. For example https://yourdomain.com/social-login/twitter/callback
Website URL: your full website URL
Organization name: None
Organization Website
URL: None
Terms of service URL: this URL for the term of service page
Privacy policy URL: this URL for the privacy policy page
Navigate to Theme Settings > Social Options. On the Twitter tab, enable Twitter Login to allow the user log in to the Twitter account. Copy the consumer key and consumer secret on the Client ID and Client Secret on the Twitter Developer